


Looking for a unique and stylish way to make your own Foton Candle holder? We’ve got you covered! With this DIY modern towel vase project, you can transform any old towel into a chic bowl for your Foton Candle Pearls! Here’s the step by step tutorial to create your own personalized bowl that adds elegance and warmth to any room and doubles as a conversation starter.
Watch the video summary:
Materials Needed:
-
A towel. The size depends on the bowl you’re making, we used a regular large bath towel (cut in half for square shape).
-
Mortar mix. Choose a fine mix for smooth results.
-
Water to add to the mortar mix.
-
Bucket for mixing the mortar.
-
Rubber gloves and safety goggles to protect your hands and eyes.
-
Paint. Pick a color of your choice to make sure it goes with your decor.
-
Paintbrush to paint the towel bowl.
-
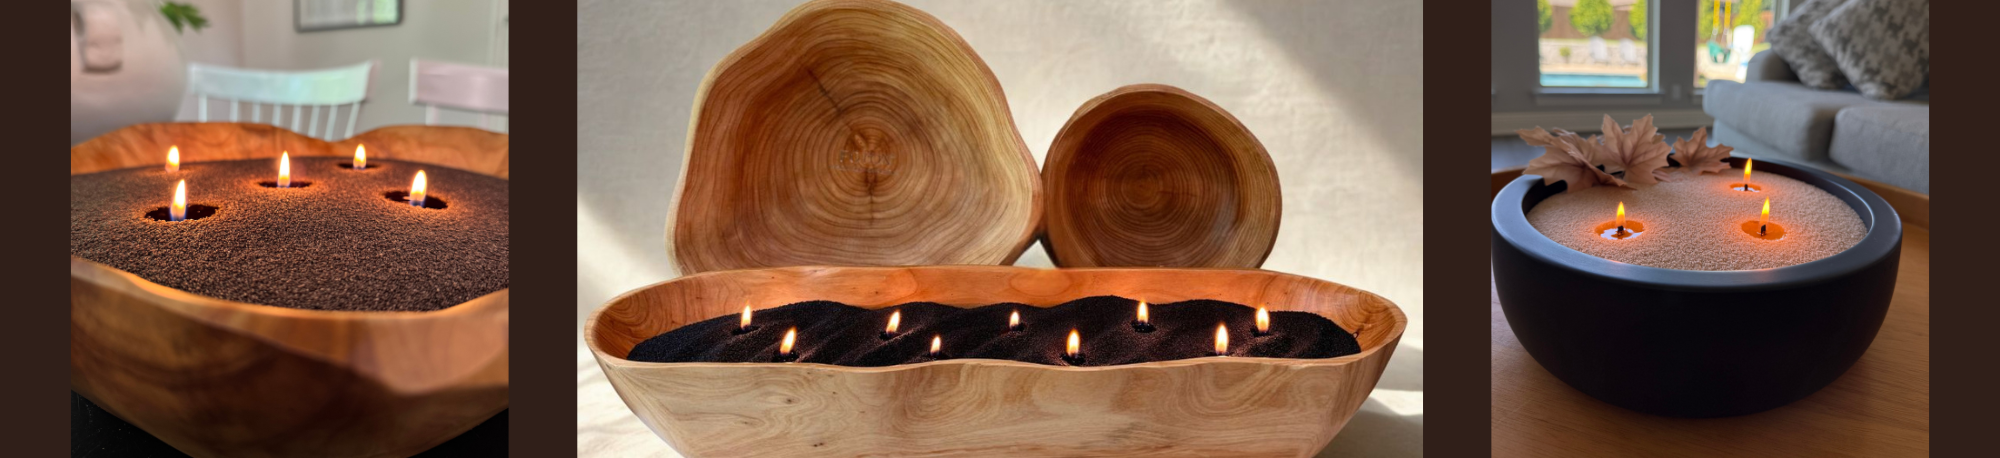
Base such as a bowl to shape the towel while it dries. Make sure it's at least 4 inches wide for a single-wick candle. The bigger it is, the more Foton wicks you can safely use in it. We used a bowl that was around 14" wide for this oversized candle bowl.
-
Plastic to cover your workspace, protect surfaces and your base.
Step by Step:
1. Prepare Your Workspace
Start by covering your entire workspace with plastic or any other material that can protect surfaces from the mortar mix and paint. This ensures no mess as you go through the process!

2. Mix the Mortar
In your bucket, mix the mortar with water until it achieves a liquid consistency—thin enough for the towel to soak it up, but thick enough to coat it completely. You want the mix to coat the towel completely, so make sure there are no dry spots on the fabric.

3. Soak the Towel
Once the mortar mix is ready, submerge the towel into the mixture, ensuring it’s fully saturated. Gently squeeze out any excess liquid while ensuring that the towel remains soaked. Be sure that the entire towel is covered with mortar, so there are no areas left untouched.

4. Shape the Towel on the Base
Here’s the fun part! Prepare the surface (base) you’ll shape your towel on, we covered it with plastic to make sure it doesn't stick to it. You can use any object or container that gives the towel the shape you want for your bowl. A simple rounded surface works best for a classic candle bowl. Once the towel is soaked, place it carefully on top of your prepared base and start molding it to the shape you want. Spend some time adjusting the edges and sides to ensure they look just the way you want.

5. Let It Dry
Leave the towel to dry for a minimum of 24 hours. The towel will harden and hold its shape during this time, so it’s essential to give it enough time to set completely.

6. Flip to Shape the Bowl
After 24 hours, carefully remove the hardened towel from the base. Flip it over to the opposite side to start shaping it into a bowl. The flexibility of the mortar should allow you to gently adjust the shape of the edges and sides. Take your time to perfect the roundness of the bowl.
7. Paint Your Towel Bowl
Once the bowl has fully dried and holds its shape, it’s time to add a personalized touch with paint. Choose a color that suits your decor, whether you prefer bold, neutral, or metallic hues. Use your paintbrush to cover both the inside and outside of your towel bowl. Let the paint dry thoroughly to ensure it’s completely set.

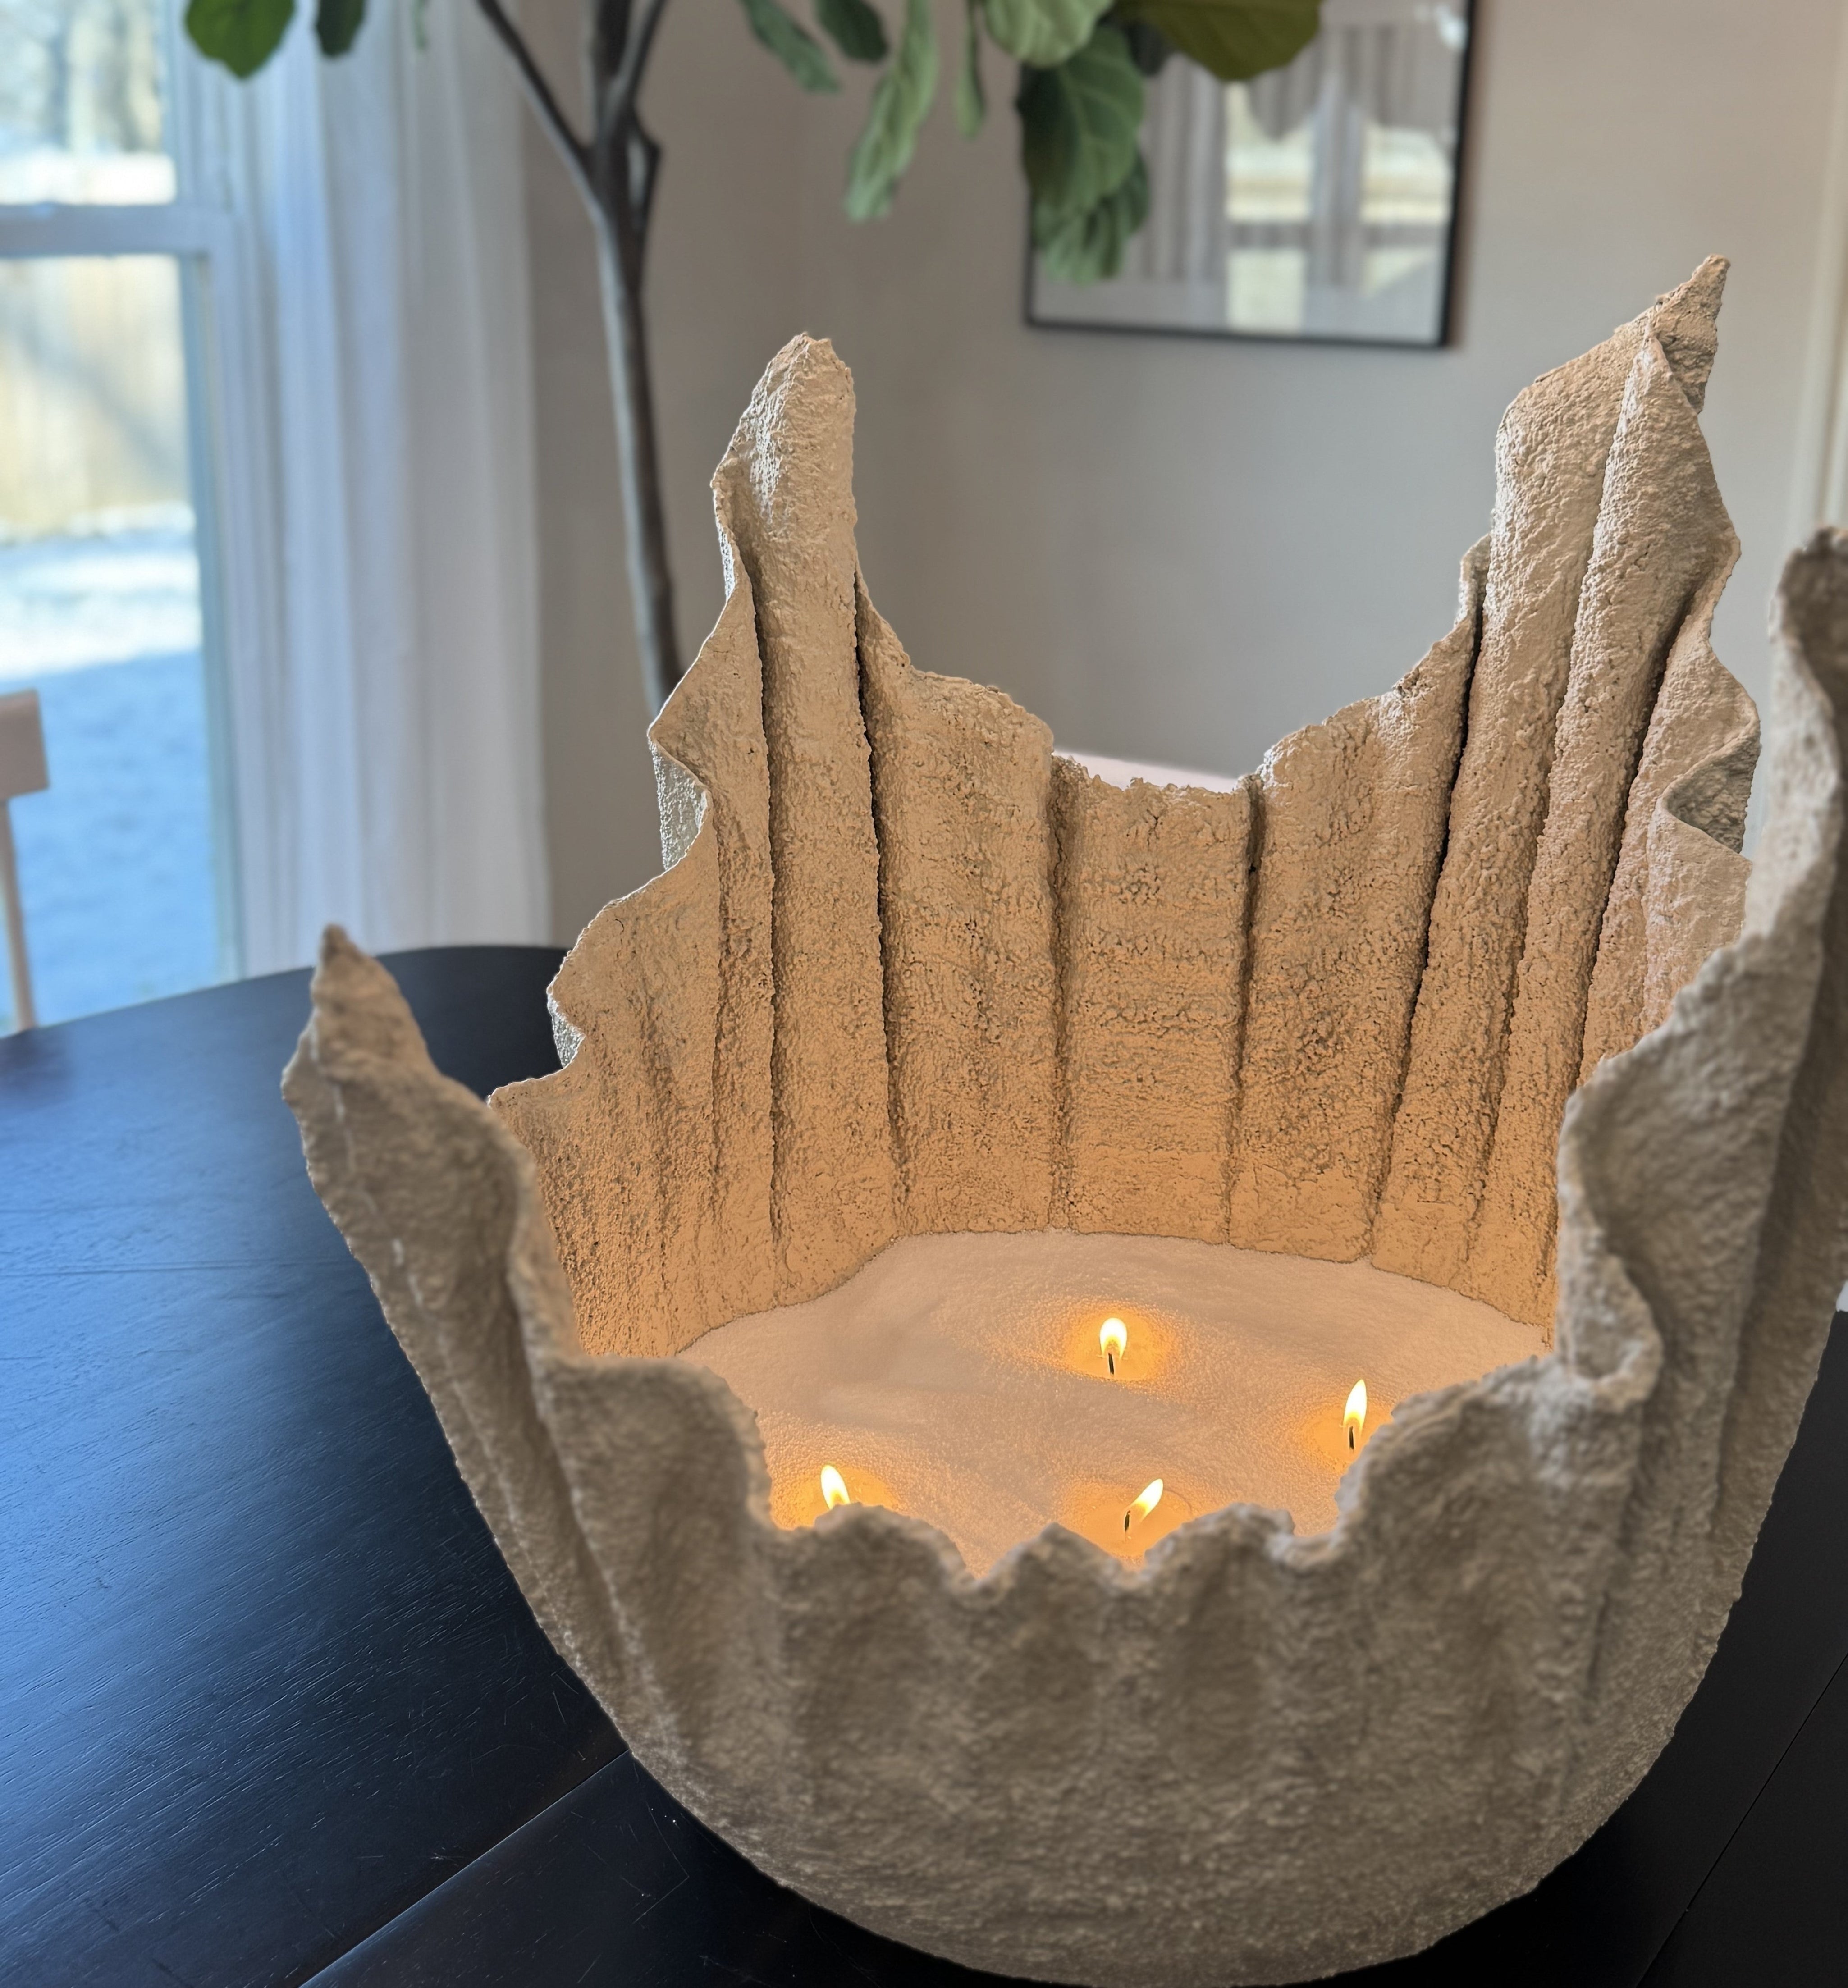
8. Fill the Bowl with Foton Candle Pearls
Once the paint is dry, it’s time to turn your towel bowl into a candle using Foton Candle pearls.
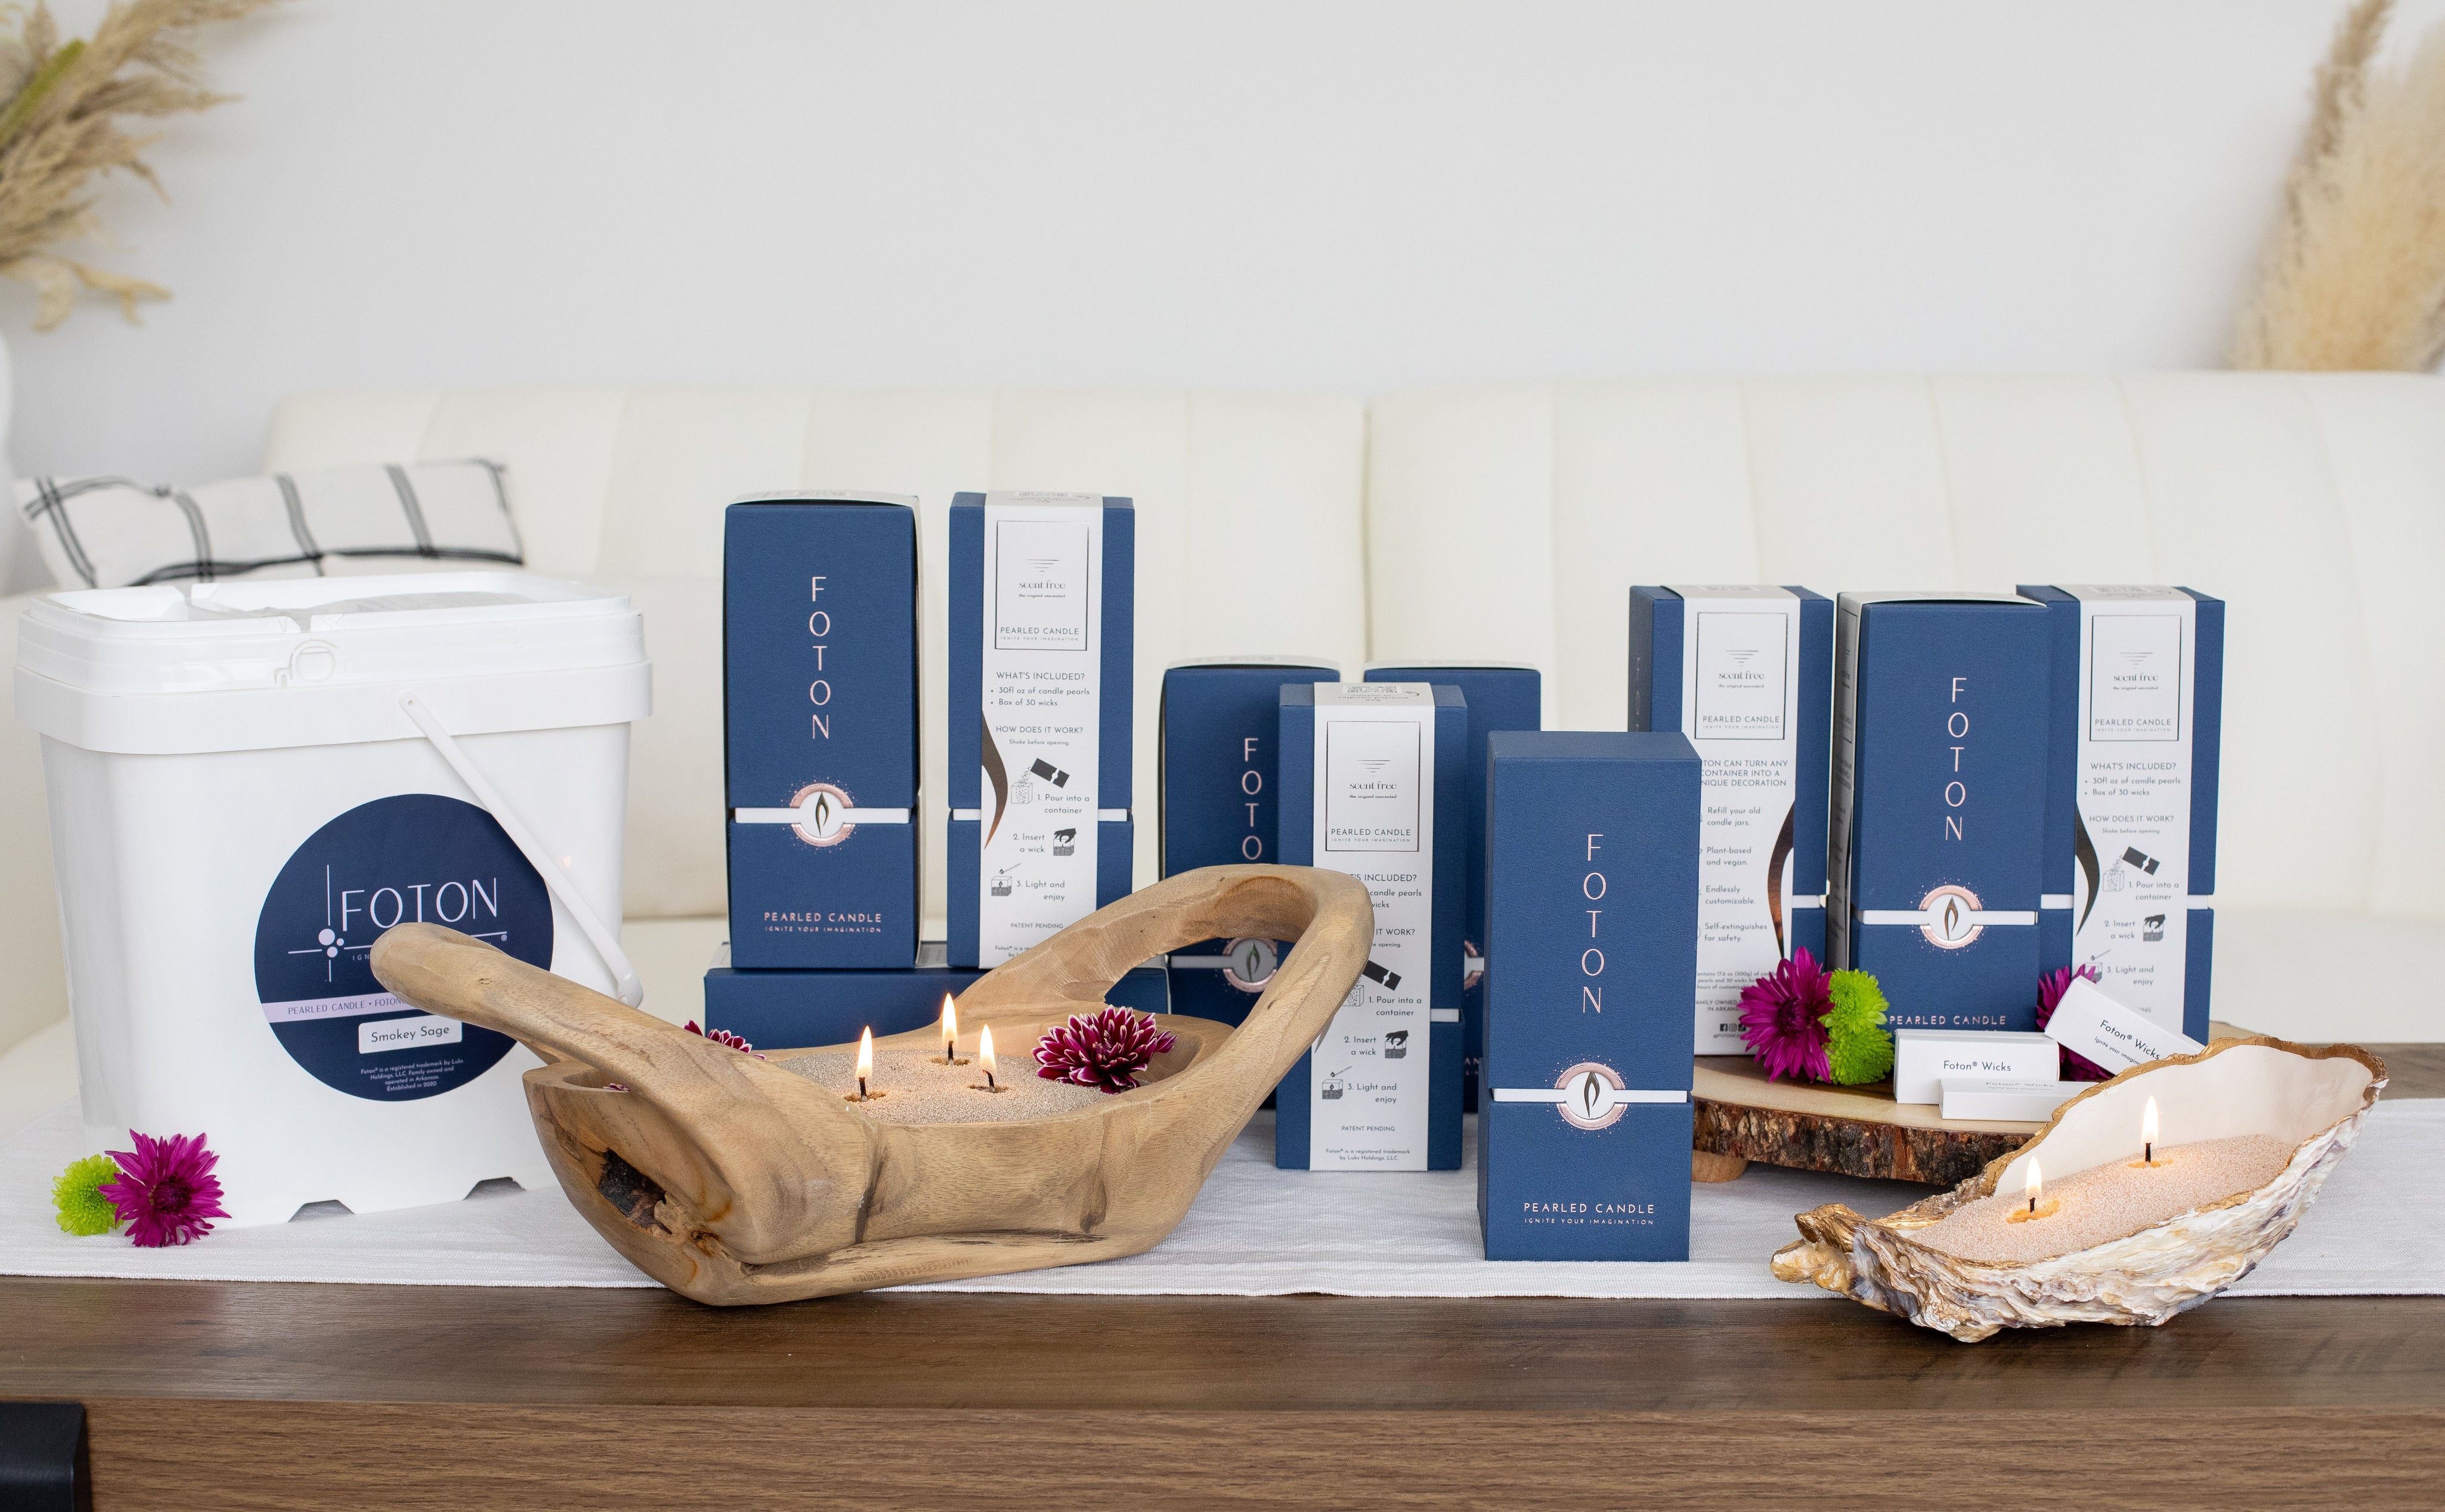
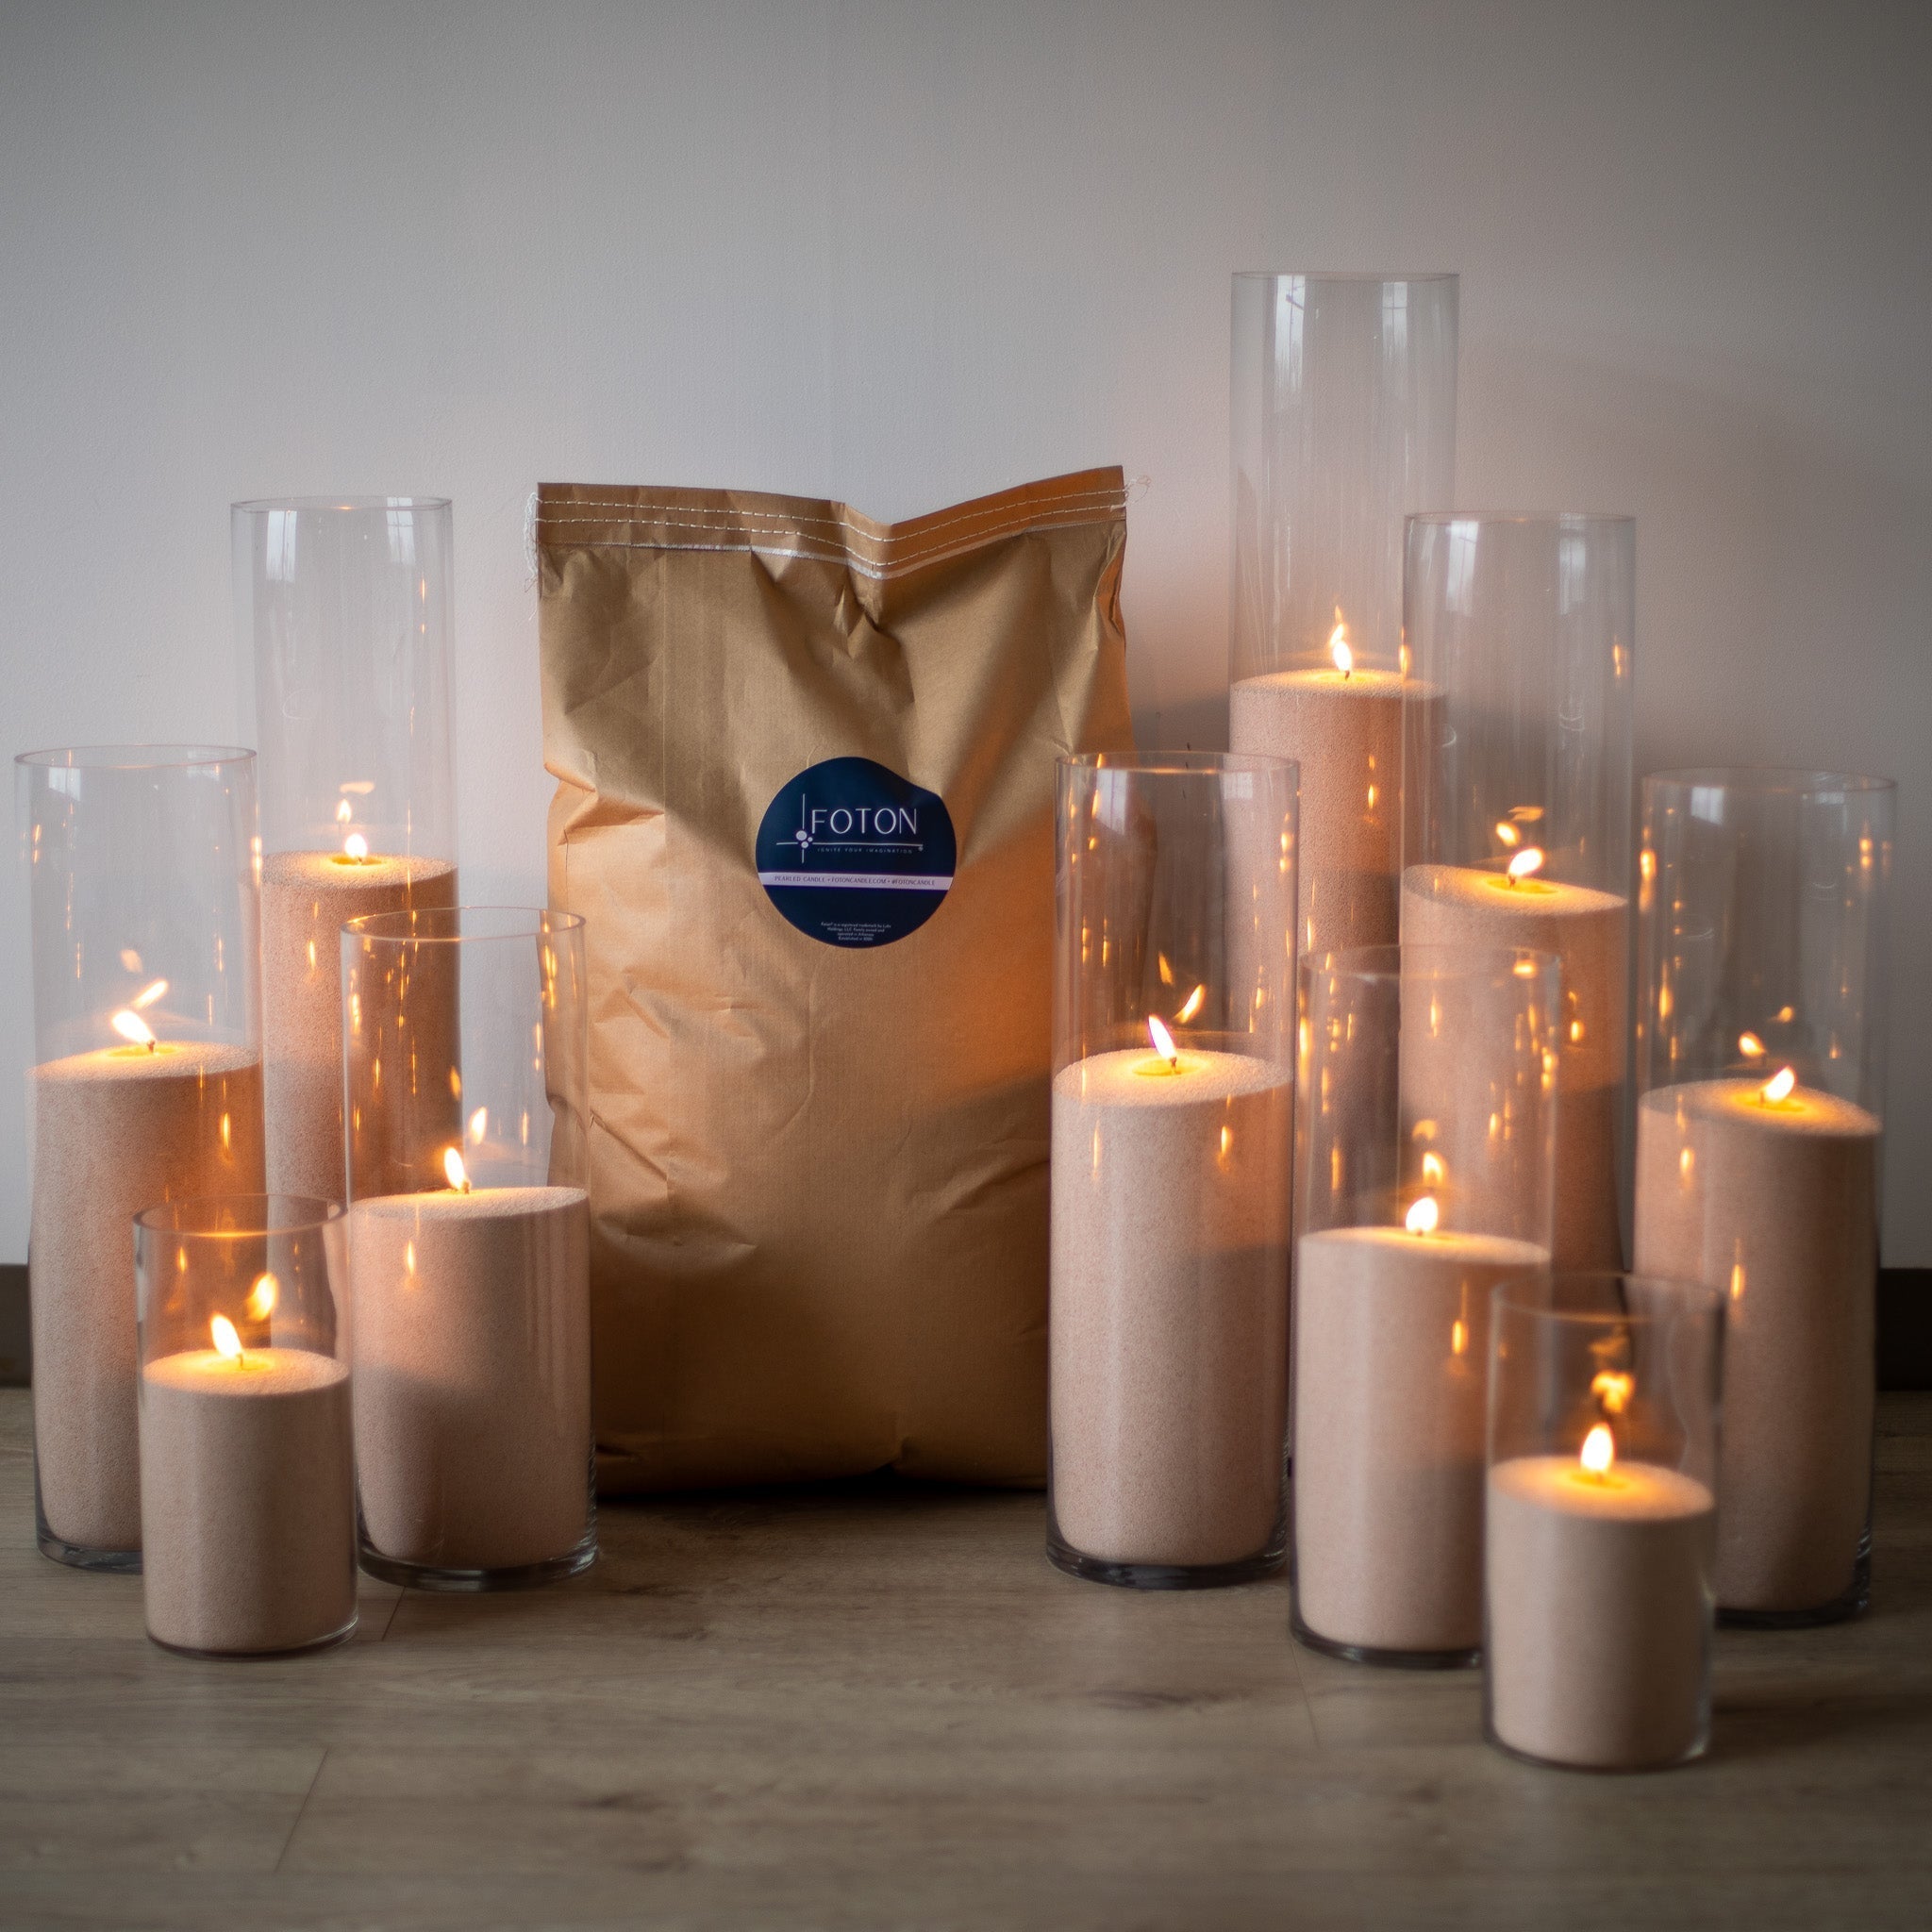
- Fill the bowl with the Foton pearls We used our 144oz Kit to fill this large container, which is also available in various unscented, colored options.
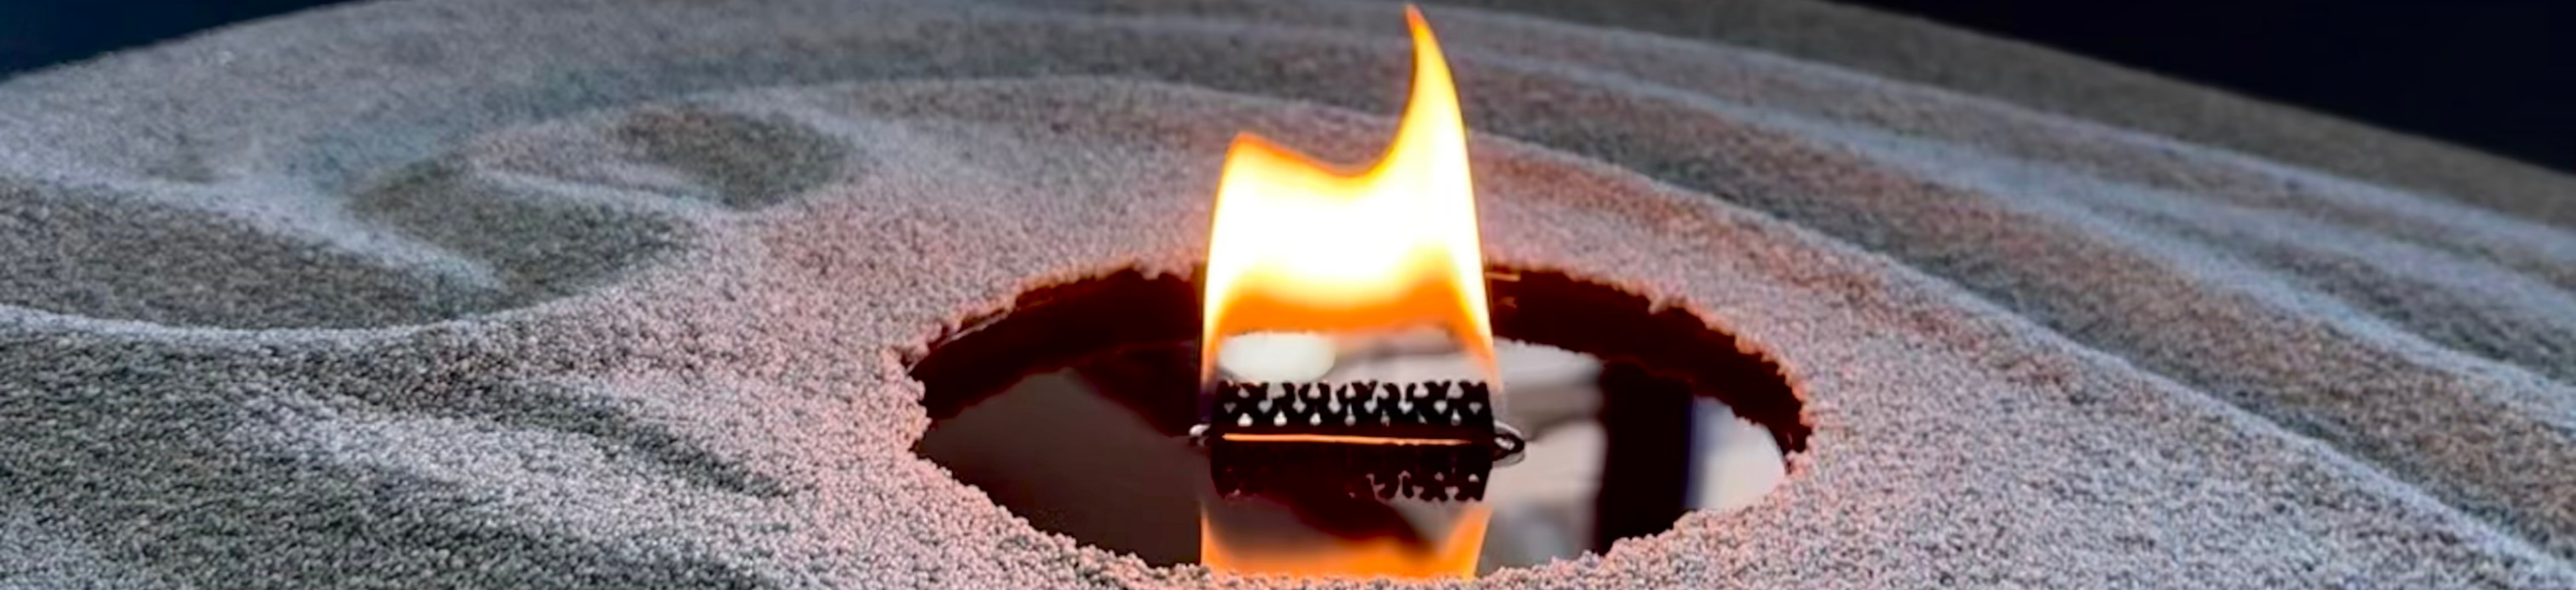
- Add a Foton wick to the center of your container. You can use more than one wick to make a multi-wick candle as long as you keep at least a 2" of space between the wicks and the edge of the container. You can even add decorations to your candle, just make sure to again leave at least 2 inches of space between the wick(s) and any decor you use.
-
Light your wick and voila! Your modern, handmade candle bowl is ready to enjoy!

9. Enjoy Your New Candle Holder
Now that your DIY towel vase is complete, enjoy the calming glow from your Foton Candle pearls. Whether you place it on a coffee table, bookshelf, or mantelpiece, this unique creation will definitely impress!
By following these simple steps, you’ll have a beautiful, functional, and personalized piece of decor. This DIY project is not only fun but also a creative way to bring a modern touch to your space!
Need help with how much product you will need, or how big the container needs to be? Check out our blog posts here to learn more or reach out to us and we will be happy to help!
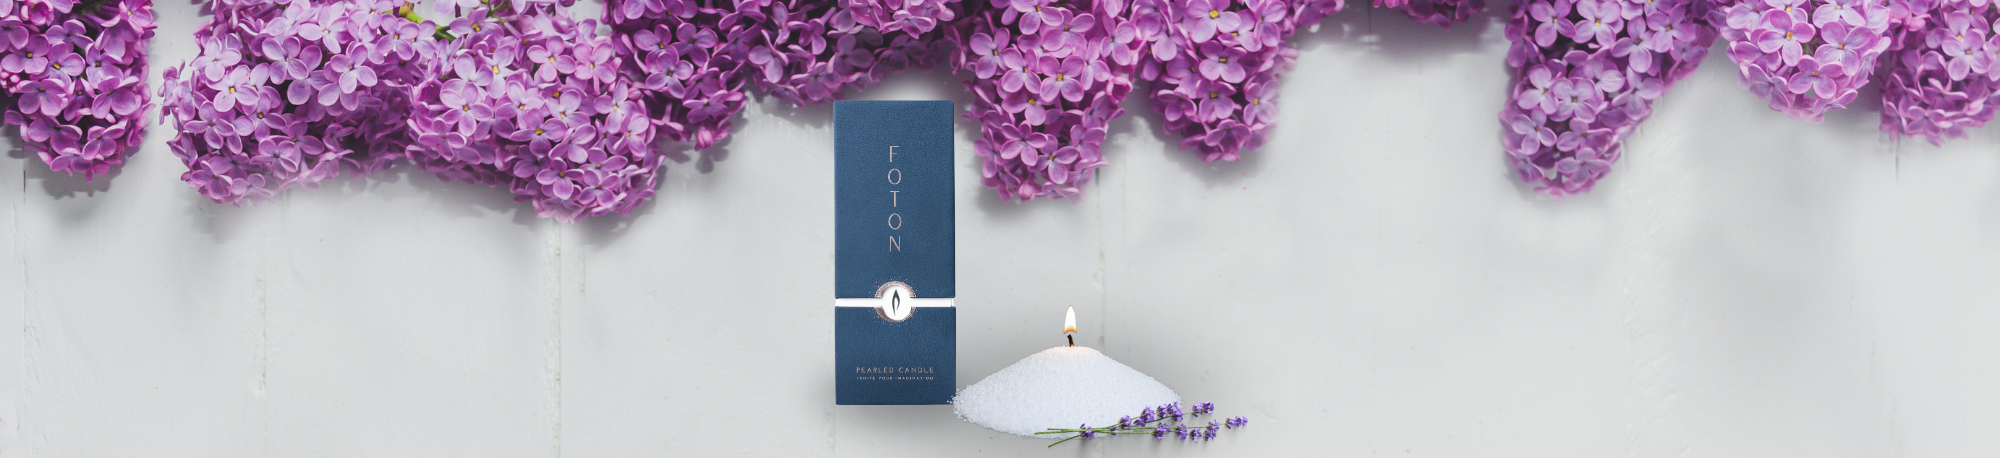
Ready to make your own? Start by picking out your favorite scented or colored Foton Candle!
Such a cool idea! I love it! ❤️