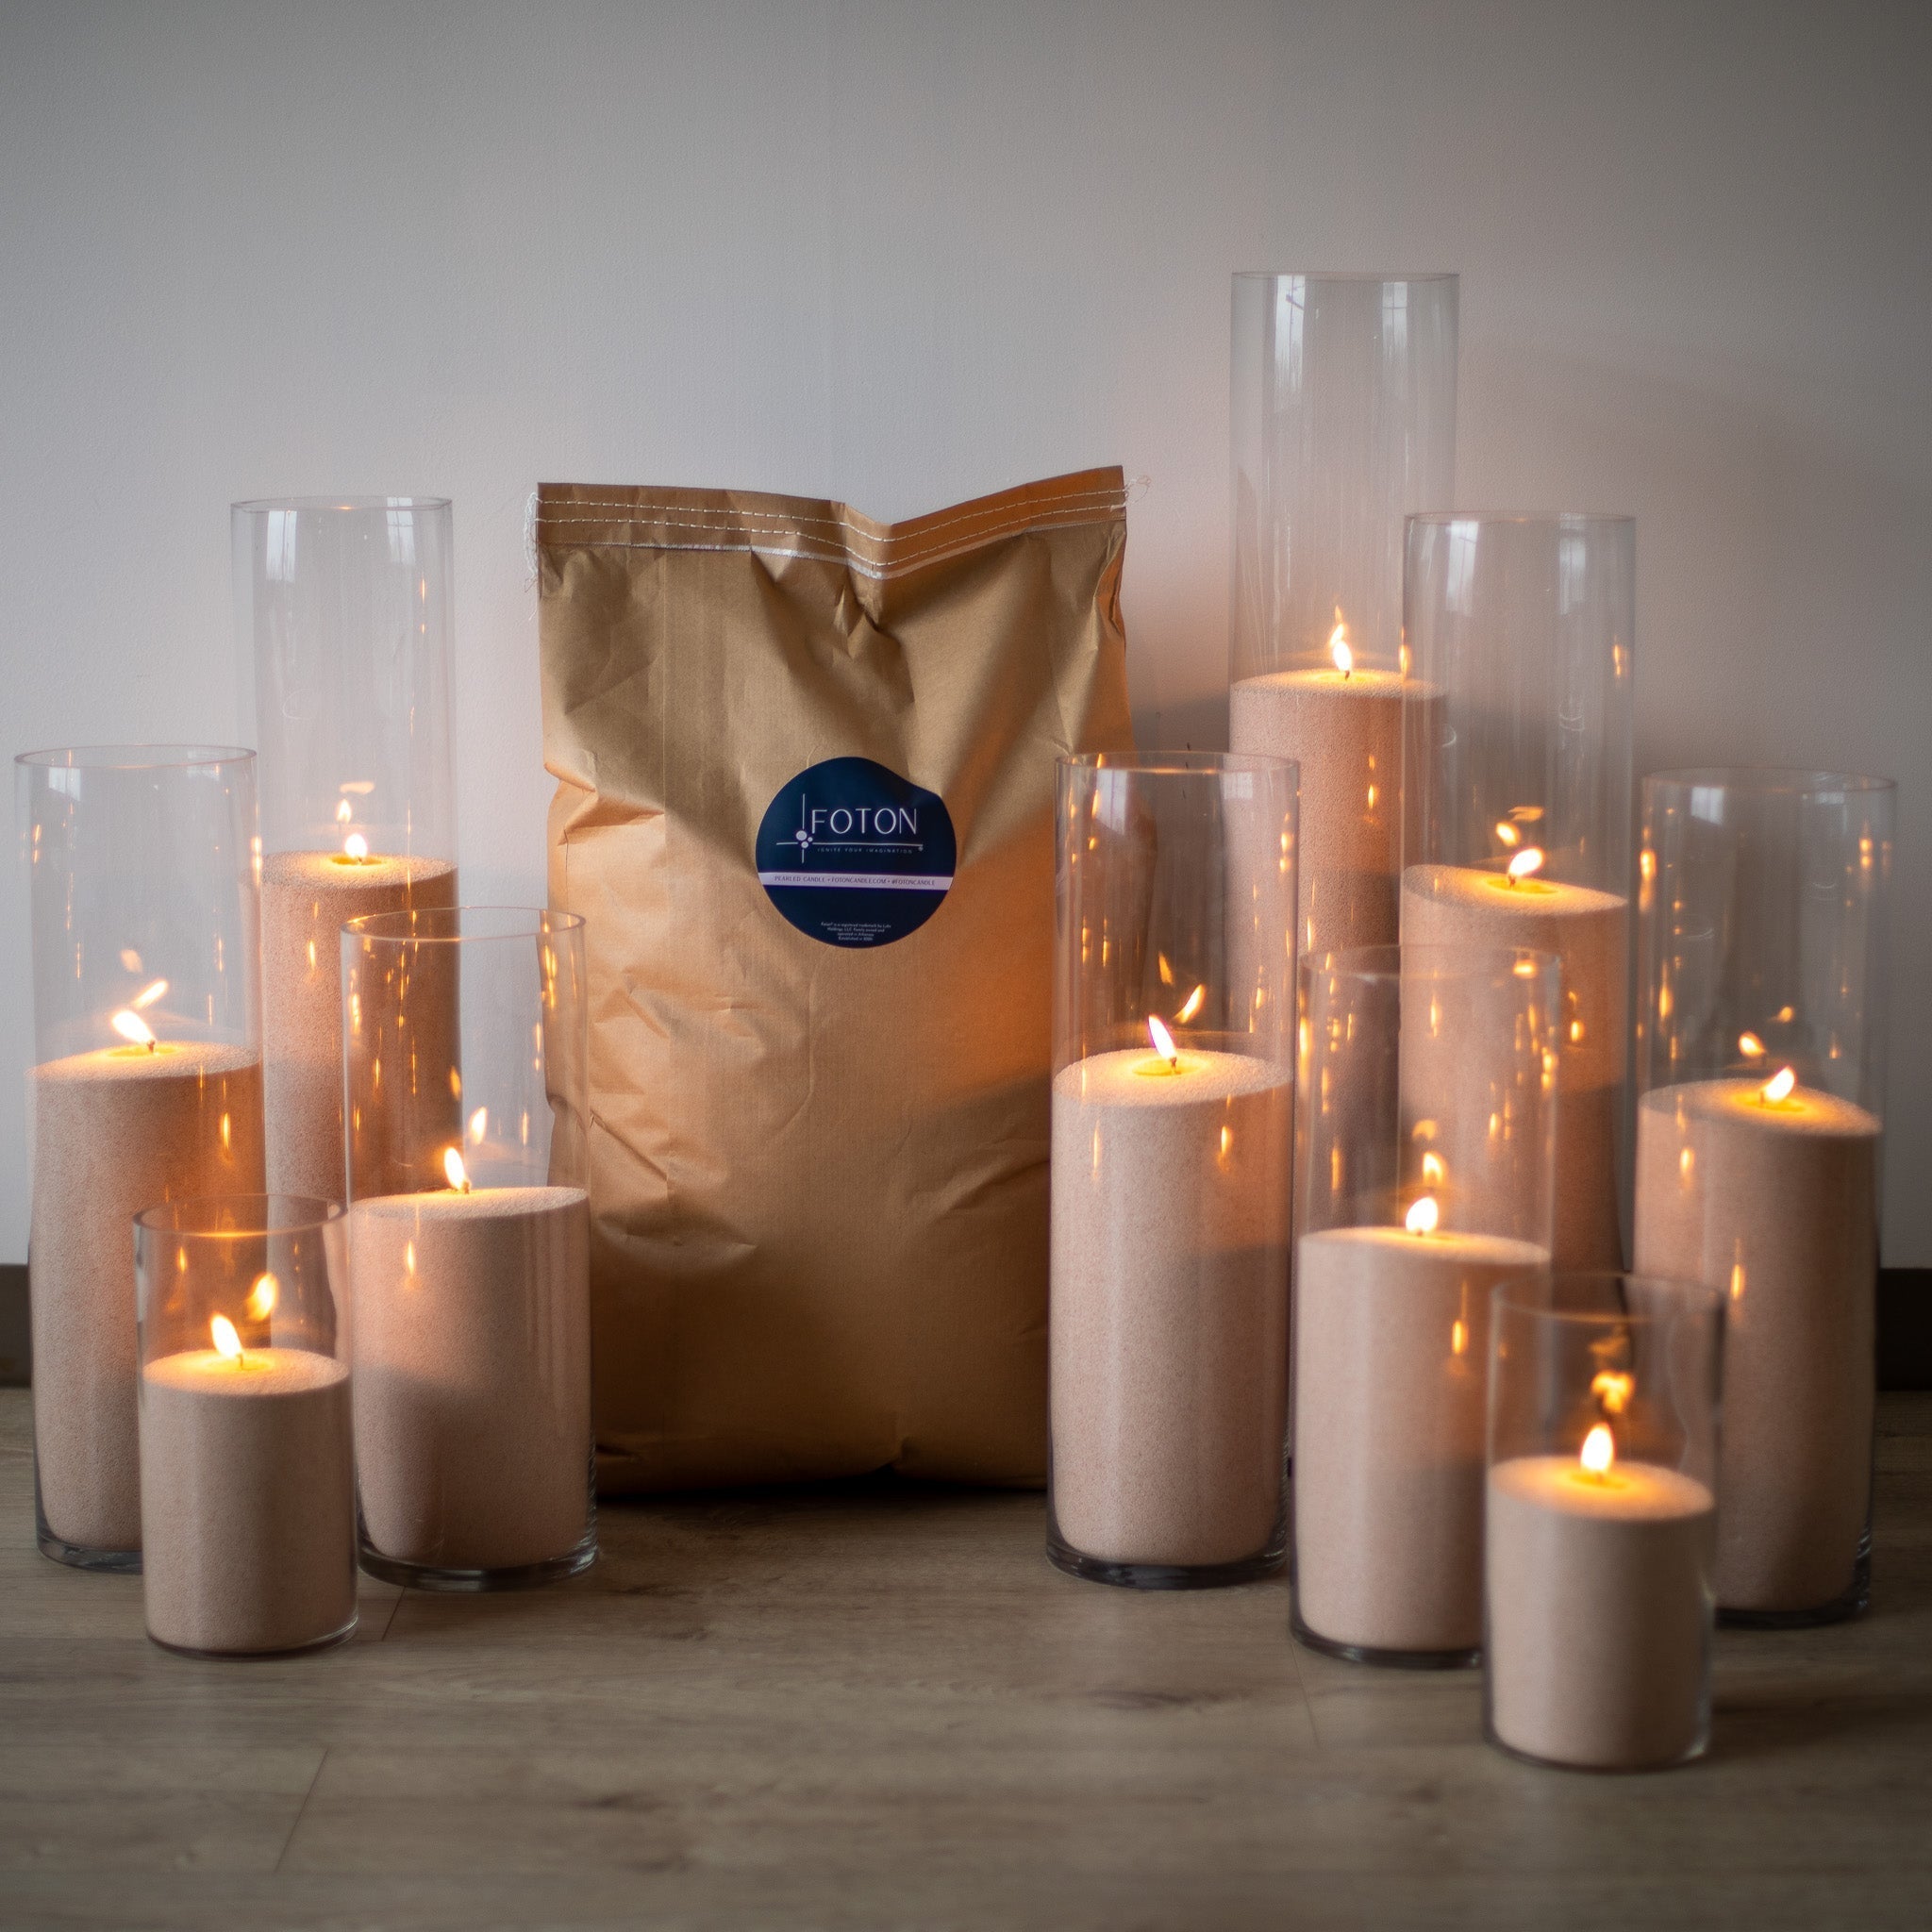


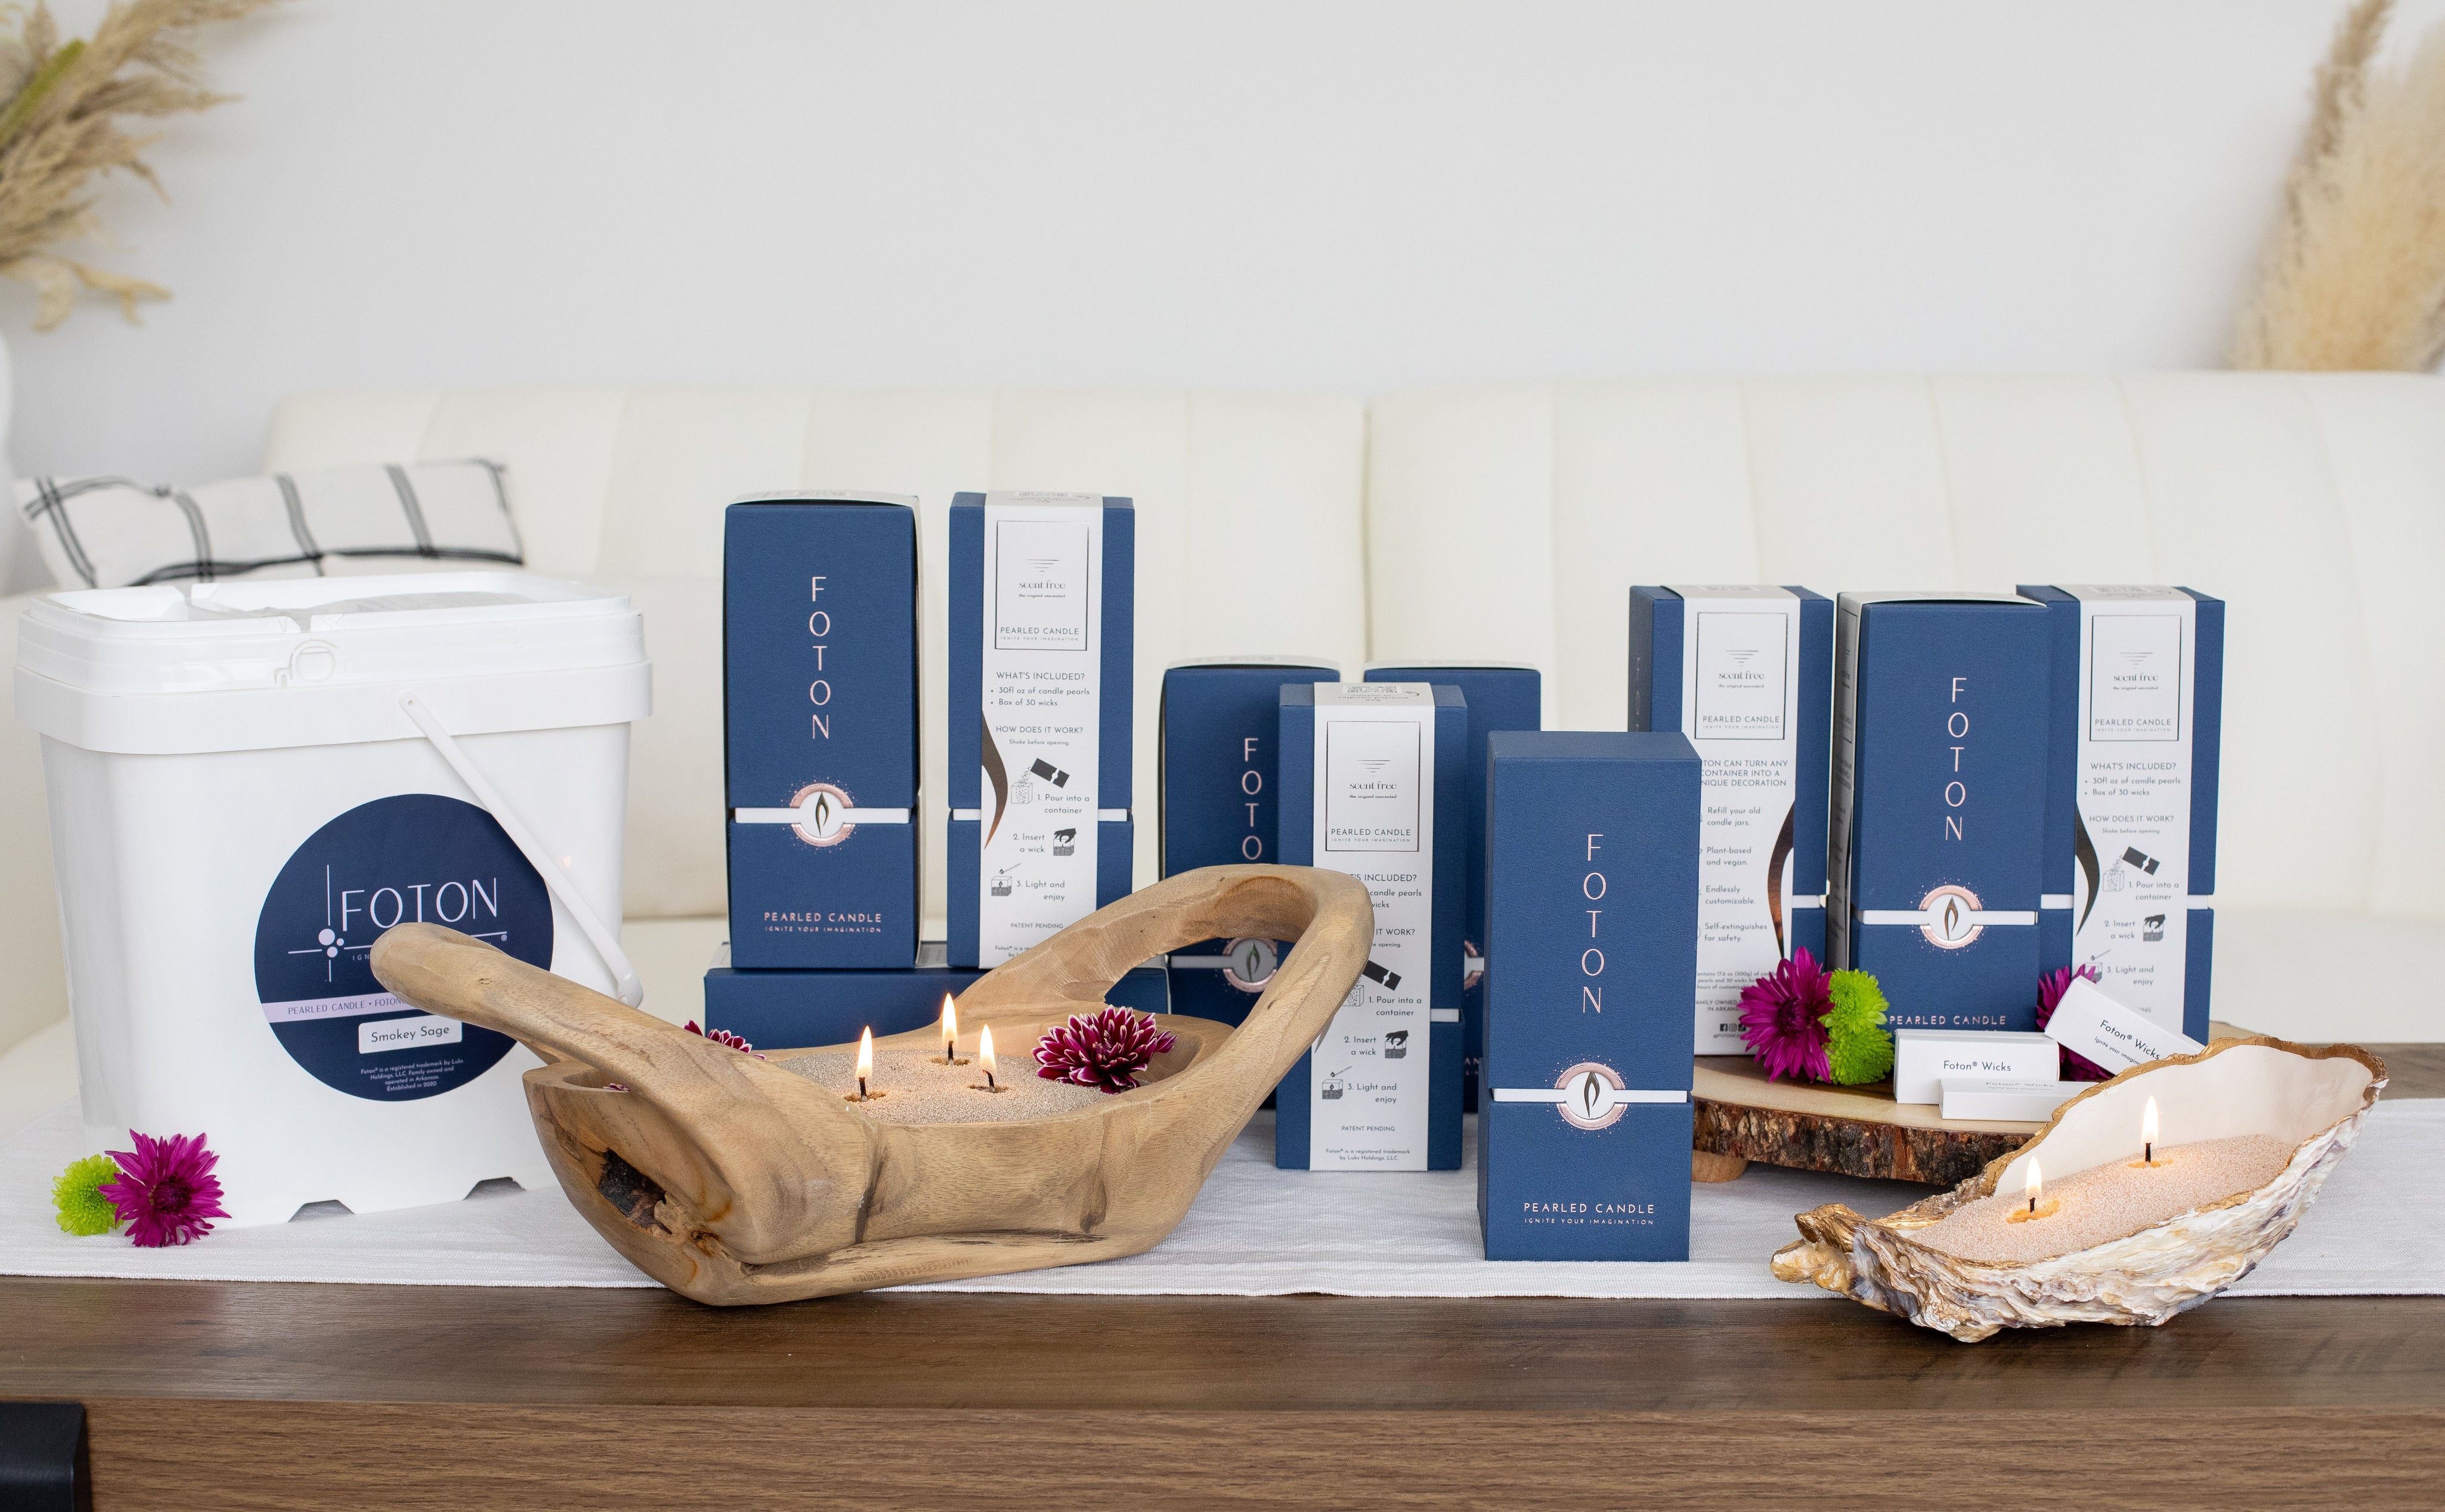
Wondering in which container to display your Foton Pearled Candles? How about making your own candle container that also doubles as an amazing conversation starter?
If you've been scrolling through social media lately, you’ve probably seen those trendy concrete pillow-shaped trays everywhere. They look sleek, modern, minimalistic, and PERFECT for holding Foton Candle pearls! So, we decided to make our own concrete tray, a DIY project that is both fun and functional. Here’s how you can create your own concrete pillow candle container with simple items you can pick up from your local hardware store:
Materials You’ll Need:
- Mortar mix. Choose a fine mix for smooth results.
- Water to add to the mortar.
- Bucket for mixing the mortar.
- Rubber gloves and safety goggles to protect your hands and eyes.
- Zip lock bag. The size depends on the tray you’re making, we used a 20-gallon plastic zip lock bag to make a giant one.
- A Round Bowl or another weighted item to create the hole in the middle of your tray (at least 4" wide).
- Sandpaper (n.80) to smooth out your pillow tray at the end.
Step by Step:
1. Decide the Size of Your Tray
Start by deciding how big you want your tray to be. We used a 20-gallon zip bag, measuring about 31x24 inches, but you can adjust based on your space or preferences. Keep in mind that the size of the zip bag will determine the size of your tray (and how heavy it will be!).
2. Mix the Mortar
You’ll want a fine mortar to mix to get that smooth, clean concrete look. We bought an 80lb bag of mortar, and we used about half of it—around 40lbs. Add the dry mortar into a large bucket and gradually pour in water according to the instructions on the back of the bag. Be sure to add water slowly, mixing it in little by little until the mixture reaches a peanut butter-like consistency. This will ensure it’s not too runny.

3. Prepare the Zip Lock Bag
Open your zip lock bag as wide as possible to avoid any mortar sticking to the sides. Once the bag is open, pour your mortar mixture into the bag, filling it up evenly. Carefully close the zip lock bag, pressing out as much air as possible to make sure the concrete settles evenly and doesn’t form bubbles. You’ll want a smooth, flat surface.

4. Shape the Tray
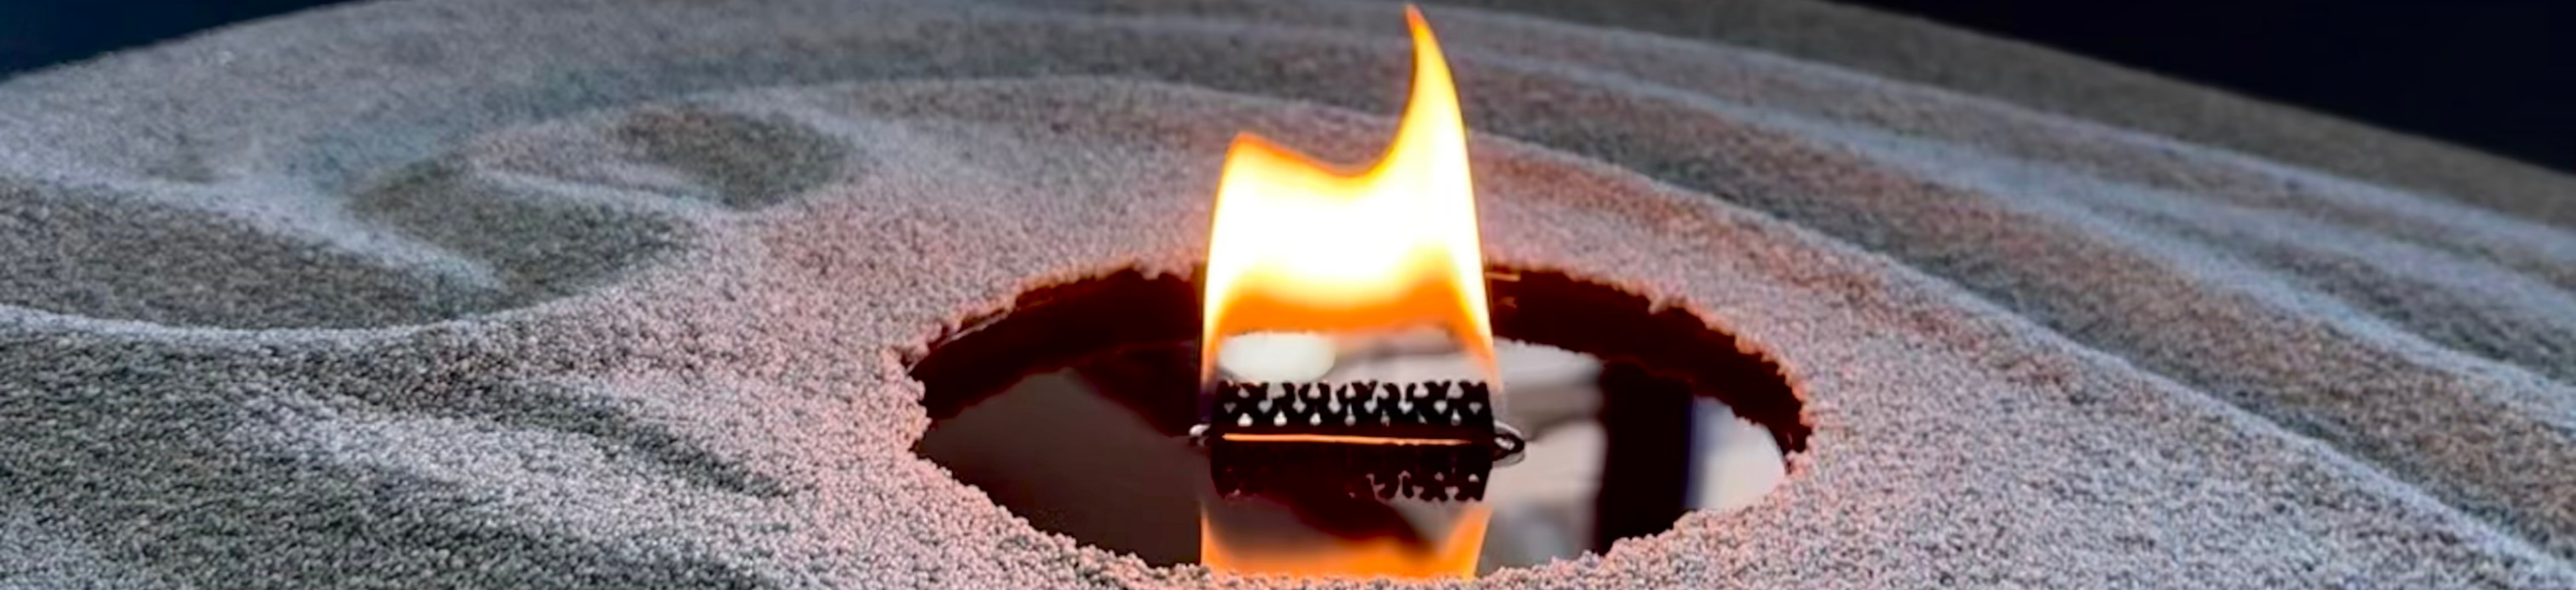
Once the bag is sealed, it’s time to create the signature hole in the center of your tray. Place a round bowl or another weighted object - anything from stones to a heavy glass jar - directly in the middle of the bag. The weight will push down into the mix, creating a hole for the candle pearls to eventually sit. Let it dry for about 48 hours. Please keep in mind your object must have a minimum width of 4 inches at its narrowest point to be able to burn your Foton Candles. Make sure that there is at least 2 inches of pearls (the wax pearls surrounding the wick) around each wick and between the wicks and decor.

5. Remove the Bag
After 48 hours, carefully cut open the bag and peel it away from your concrete tray. At this point, the mortar may still look a bit dark, but don’t worry! It will lighten up and become more defined once it’s left out in the air overnight to cure.

6. Smooth It Out
If your tray has rough edges or bubble marks, now is the time to fix them. Using a piece of sandpaper (n.80 grit), gently sand down the surface until it’s smooth and even. Once you’re happy with the texture, use a brush to sweep away any dust or debris.

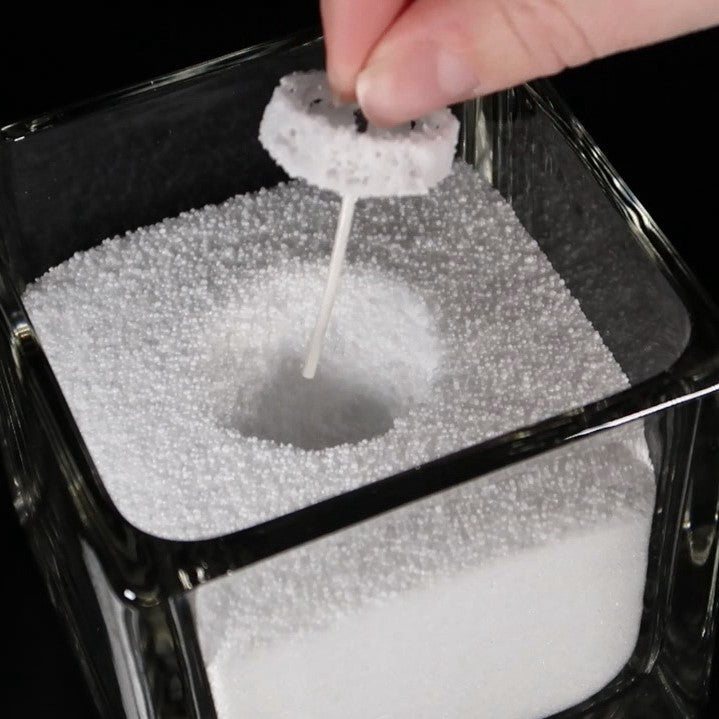
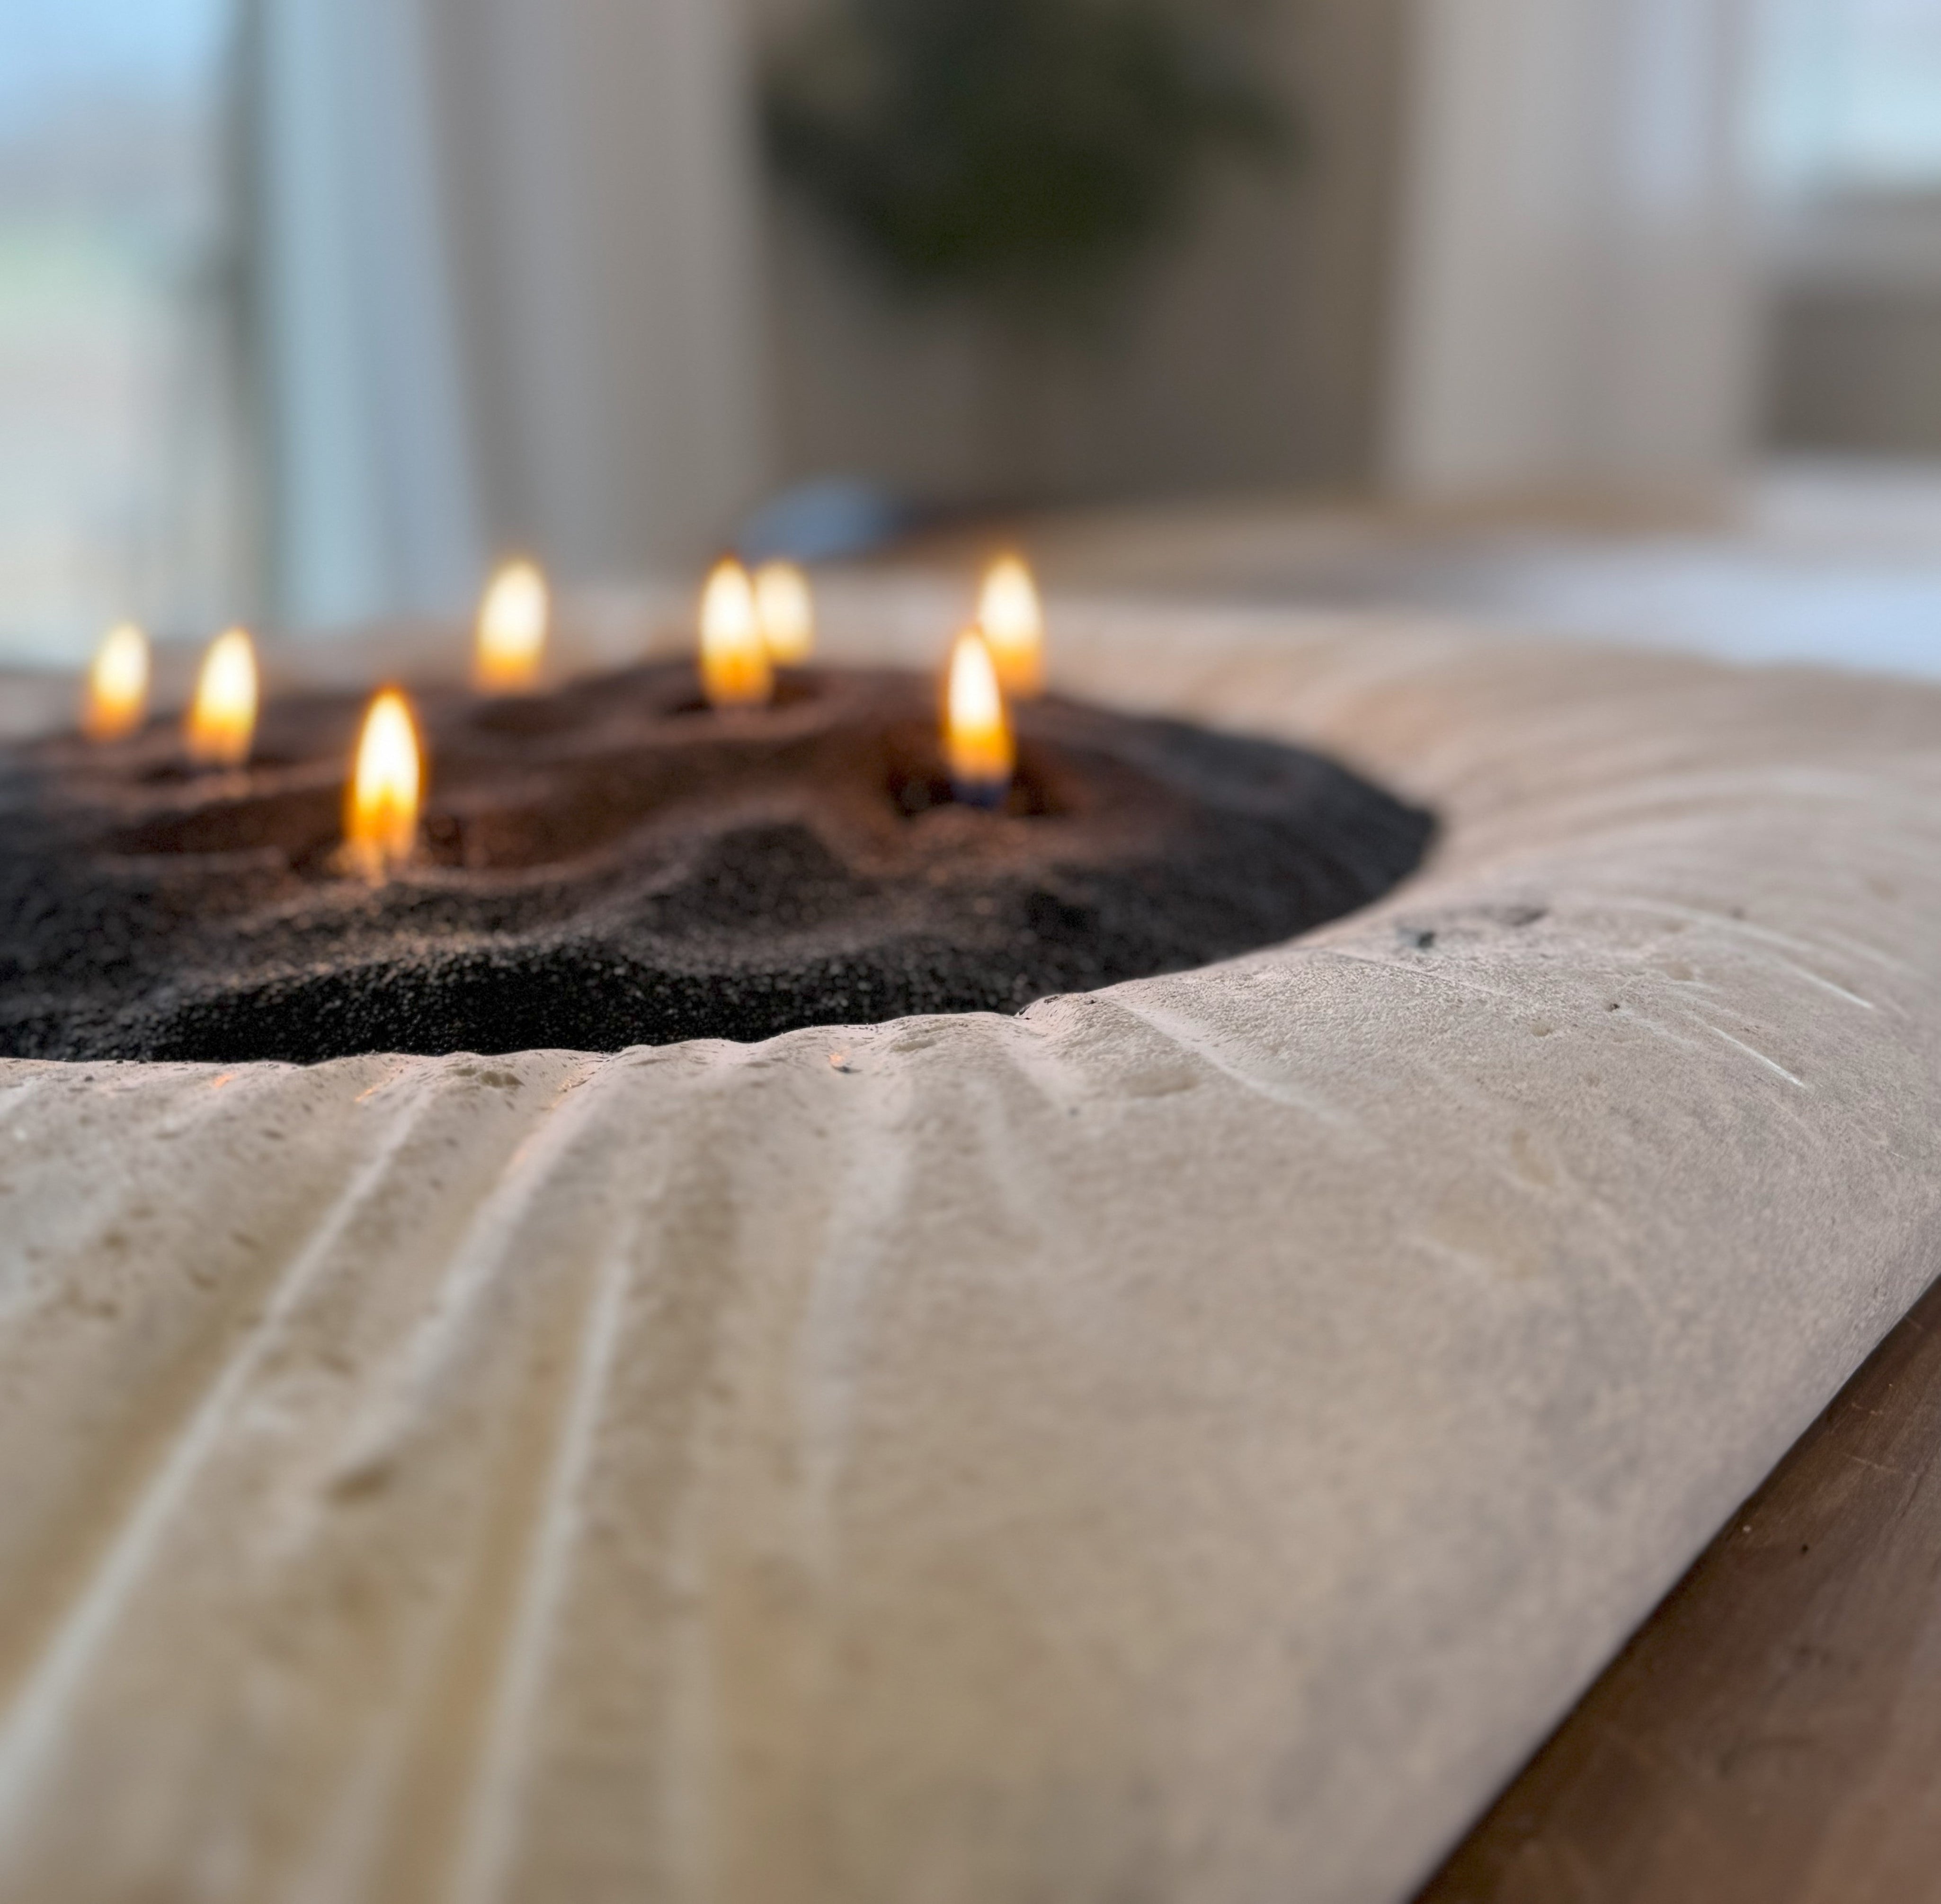
7. Turn it into a Foton Candle and Enjoy!
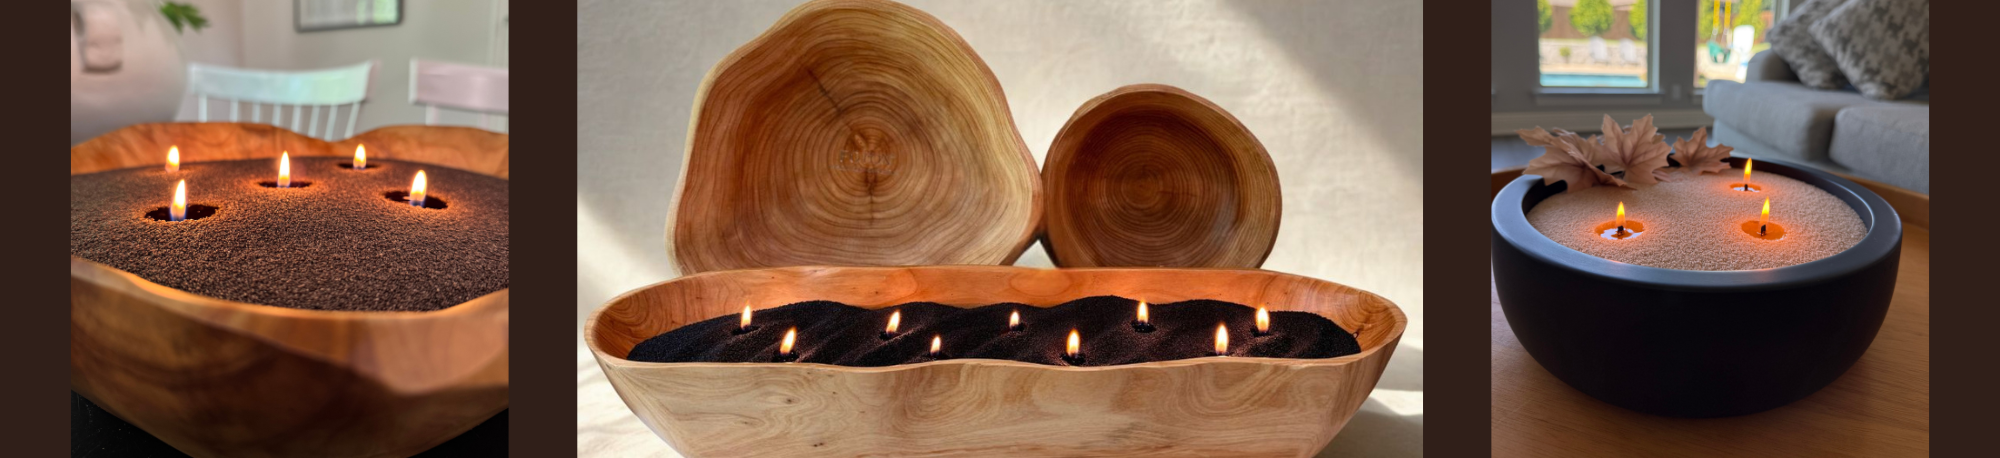
Now comes the fun part! Pour your favorite Foton Candle pearls into the hole you created, insert one or more wicks and light it. Then sit back and enjoy your beautiful new DIY concrete tray, which also doubles as an amazing conversation starter during your next dinner party.

A quick tip: Always make sure there’s at least 1 inch of space between the bottom of the wick and the tray. This distance allows the wax to melt all the way down to the end of the wick, which typically allows the candle to self-extinguish safely, reducing the risk of excessive heat buildup at the bottom.
Use One Wick in a 4-inch Container: If you are looking to burn with multiple Foton Wicks, make sure you follow the recommendations. In containers that are 4 inches wide, always use only one wick in the center of the container. Using multiple wicks in a narrow container will cause excessively large melt pools, leading to overheating and potential container damage.
This DIY concrete tray is not only a stylish centerpiece, but it also adds a personal touch to your home decor. Plus, it’s a creative way to make your very own concrete Foton Candle holder!
Have questions about how to place your Foton wick or how big the container needs to be? Check out our blog posts here to learn more!
Happy crafting!