


If you’ve ever wanted to turn your candle into a true piece of art, Foton candle stencils are the easiest way to do it.
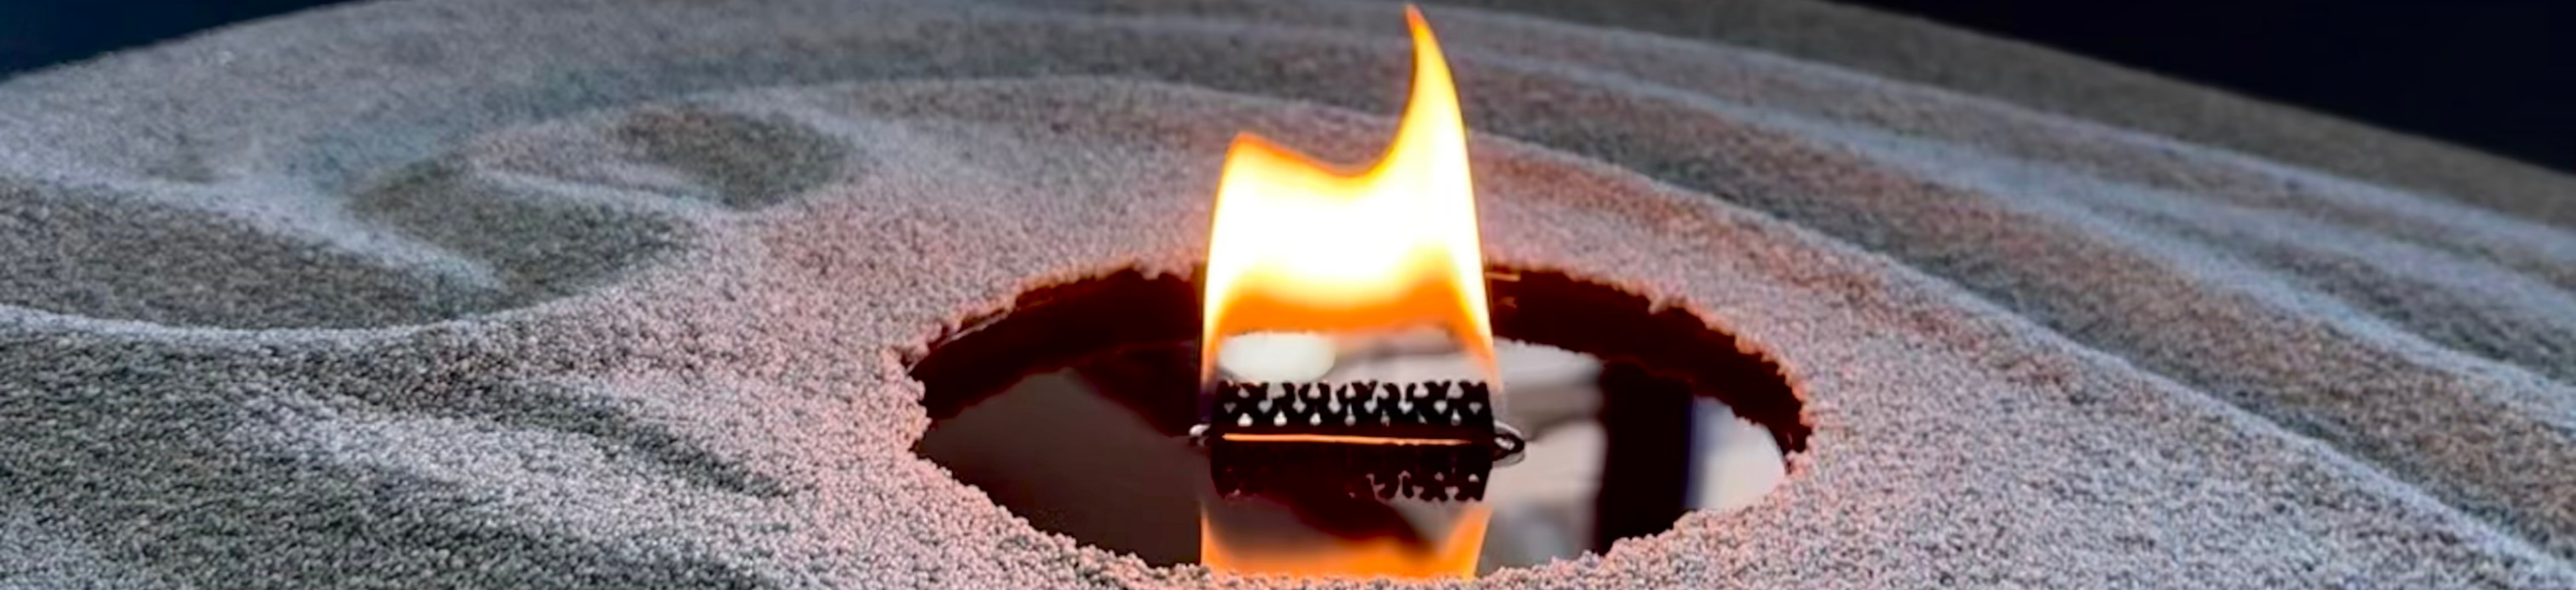
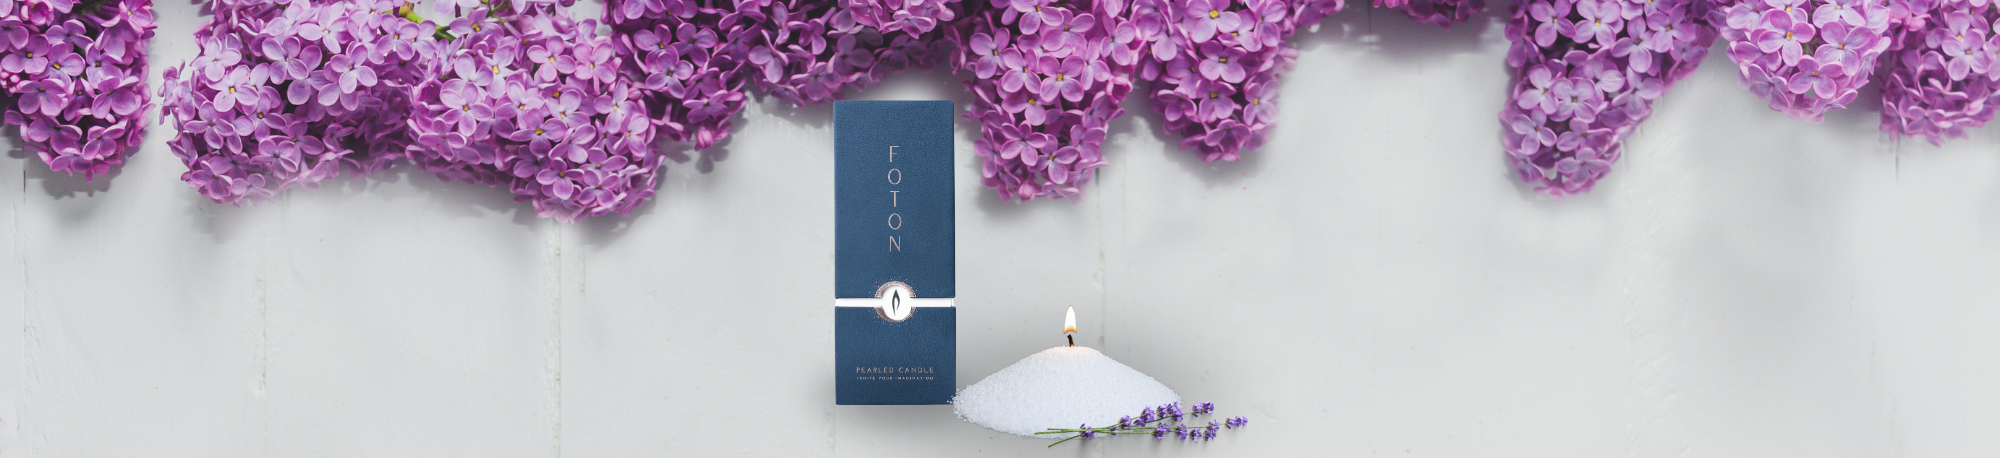
With Foton Pearled Candles, you’re not just lighting a candle - you’re designing one. By using candle stencils for design, you can create clean shapes, layered patterns, and eye-catching details right on the surface of your candle. It’s a simple technique that makes your decor feel custom, creative, and completely your own.
Whether you’re new to how to use candle stencils or looking to improve your technique, a few small steps can make a big difference in how your design turns out.
1. Better Stencils Start with a Flat Base
Before placing your stencil, make sure the pearl base is as flat and even as possible. Gently smooth the surface with your hand or a flat tool before positioning the stencil. An uneven base causes the stencil to tilt, which leads to blurred edges and pearls slipping underneath.
2. Fold the Stencil Flap Properly

Make sure to fold the stencil flap firmly and evenly before placing it onto your pearled candle. This keeps it straight and secure against the pearl base, giving you cleaner lines and a more precise design. A well-positioned stencil is the foundation of a great result — don't rush this step.
3. Sprinkle Pearls Slowly for Better Control, Less Is More

When adding your colored pearls, sprinkle them gently around the stencil silhouette. Avoid pouring too much at once, working in small amounts gives you better control and helps keep your design clean and defined. This is especially important when working with deeper or more vibrant pearl colors, where even a small amount creates a strong visual impact.
Pro tip: Hold the pearl container at an angle and tap lightly rather than pouring directly. This gives you the most control over placement.
4. Lift the Stencil Slowly and Steadily

This is the step that makes or breaks your design. When removing the stencil, lift it slowly and as steadily as possible. Any shakiness can cause the pearls to fall into your design and ruin those clean lines — so take your time here. Lift straight up rather than at an angle for the sharpest silhouette.
5. Play with Color Intensity
The brighter the color of your sprinkled pearls, the bolder and more noticeable your final design will be. If you prefer a softer, more subtle look, opt for lighter or muted tones to create a delicate, faded effect.
Experimenting with color is one of the most rewarding parts of pearled candle design. Try layering a light base color with a darker accent around the stencil edge for a dimensional look. Browse Foton's full color sample range to find your perfect combination.

Final Tip
Take your time and enjoy the process, every pearled candle is unique, and that's what makes it special! The more you practice, the more confident you'll become with the stencil technique, and the more creative your designs will get.
Related Posts:

