


Looking for a creative way to bring a warm, natural glow to your home? This DIY project turns simple dried orange slices into a beautiful, handcrafted candle bowl. It’s perfect for cozy home décor, thoughtful handmade gifts, or a stunning summer table centerpiece!
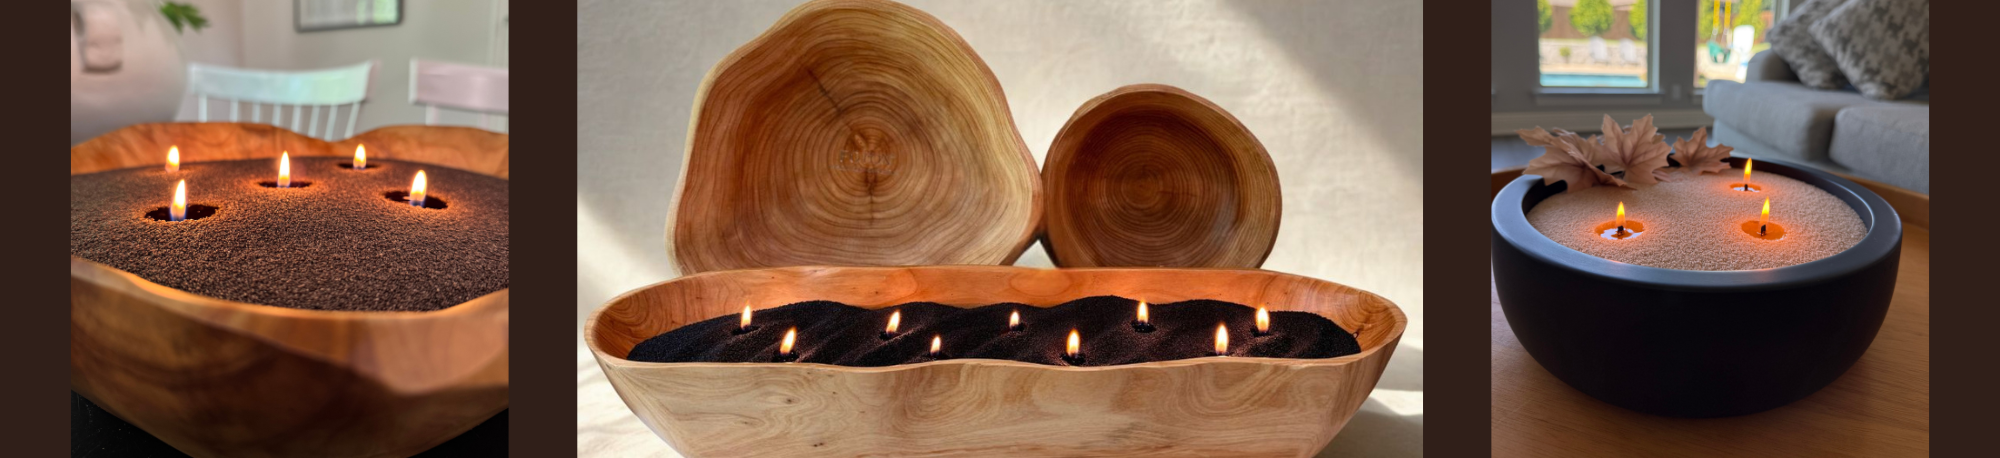
By pairing this handmade vessel with Foton Pearled Candles, you can create a completely customizable, refillable, and mess-free candle experience that looks just as good as it smells.

Materials You'll Need
To get started on your DIY citrus candle bowl, gather these simple materials:
•Fresh Oranges (navel oranges work great)
•Parchment paper
•Hot glue gun and glue sticks
•Mod Podge (matte or gloss finish)
•A small brush
•A bowl (to use as a mold for shaping)
•Plastic wrap (optional, but helpful)
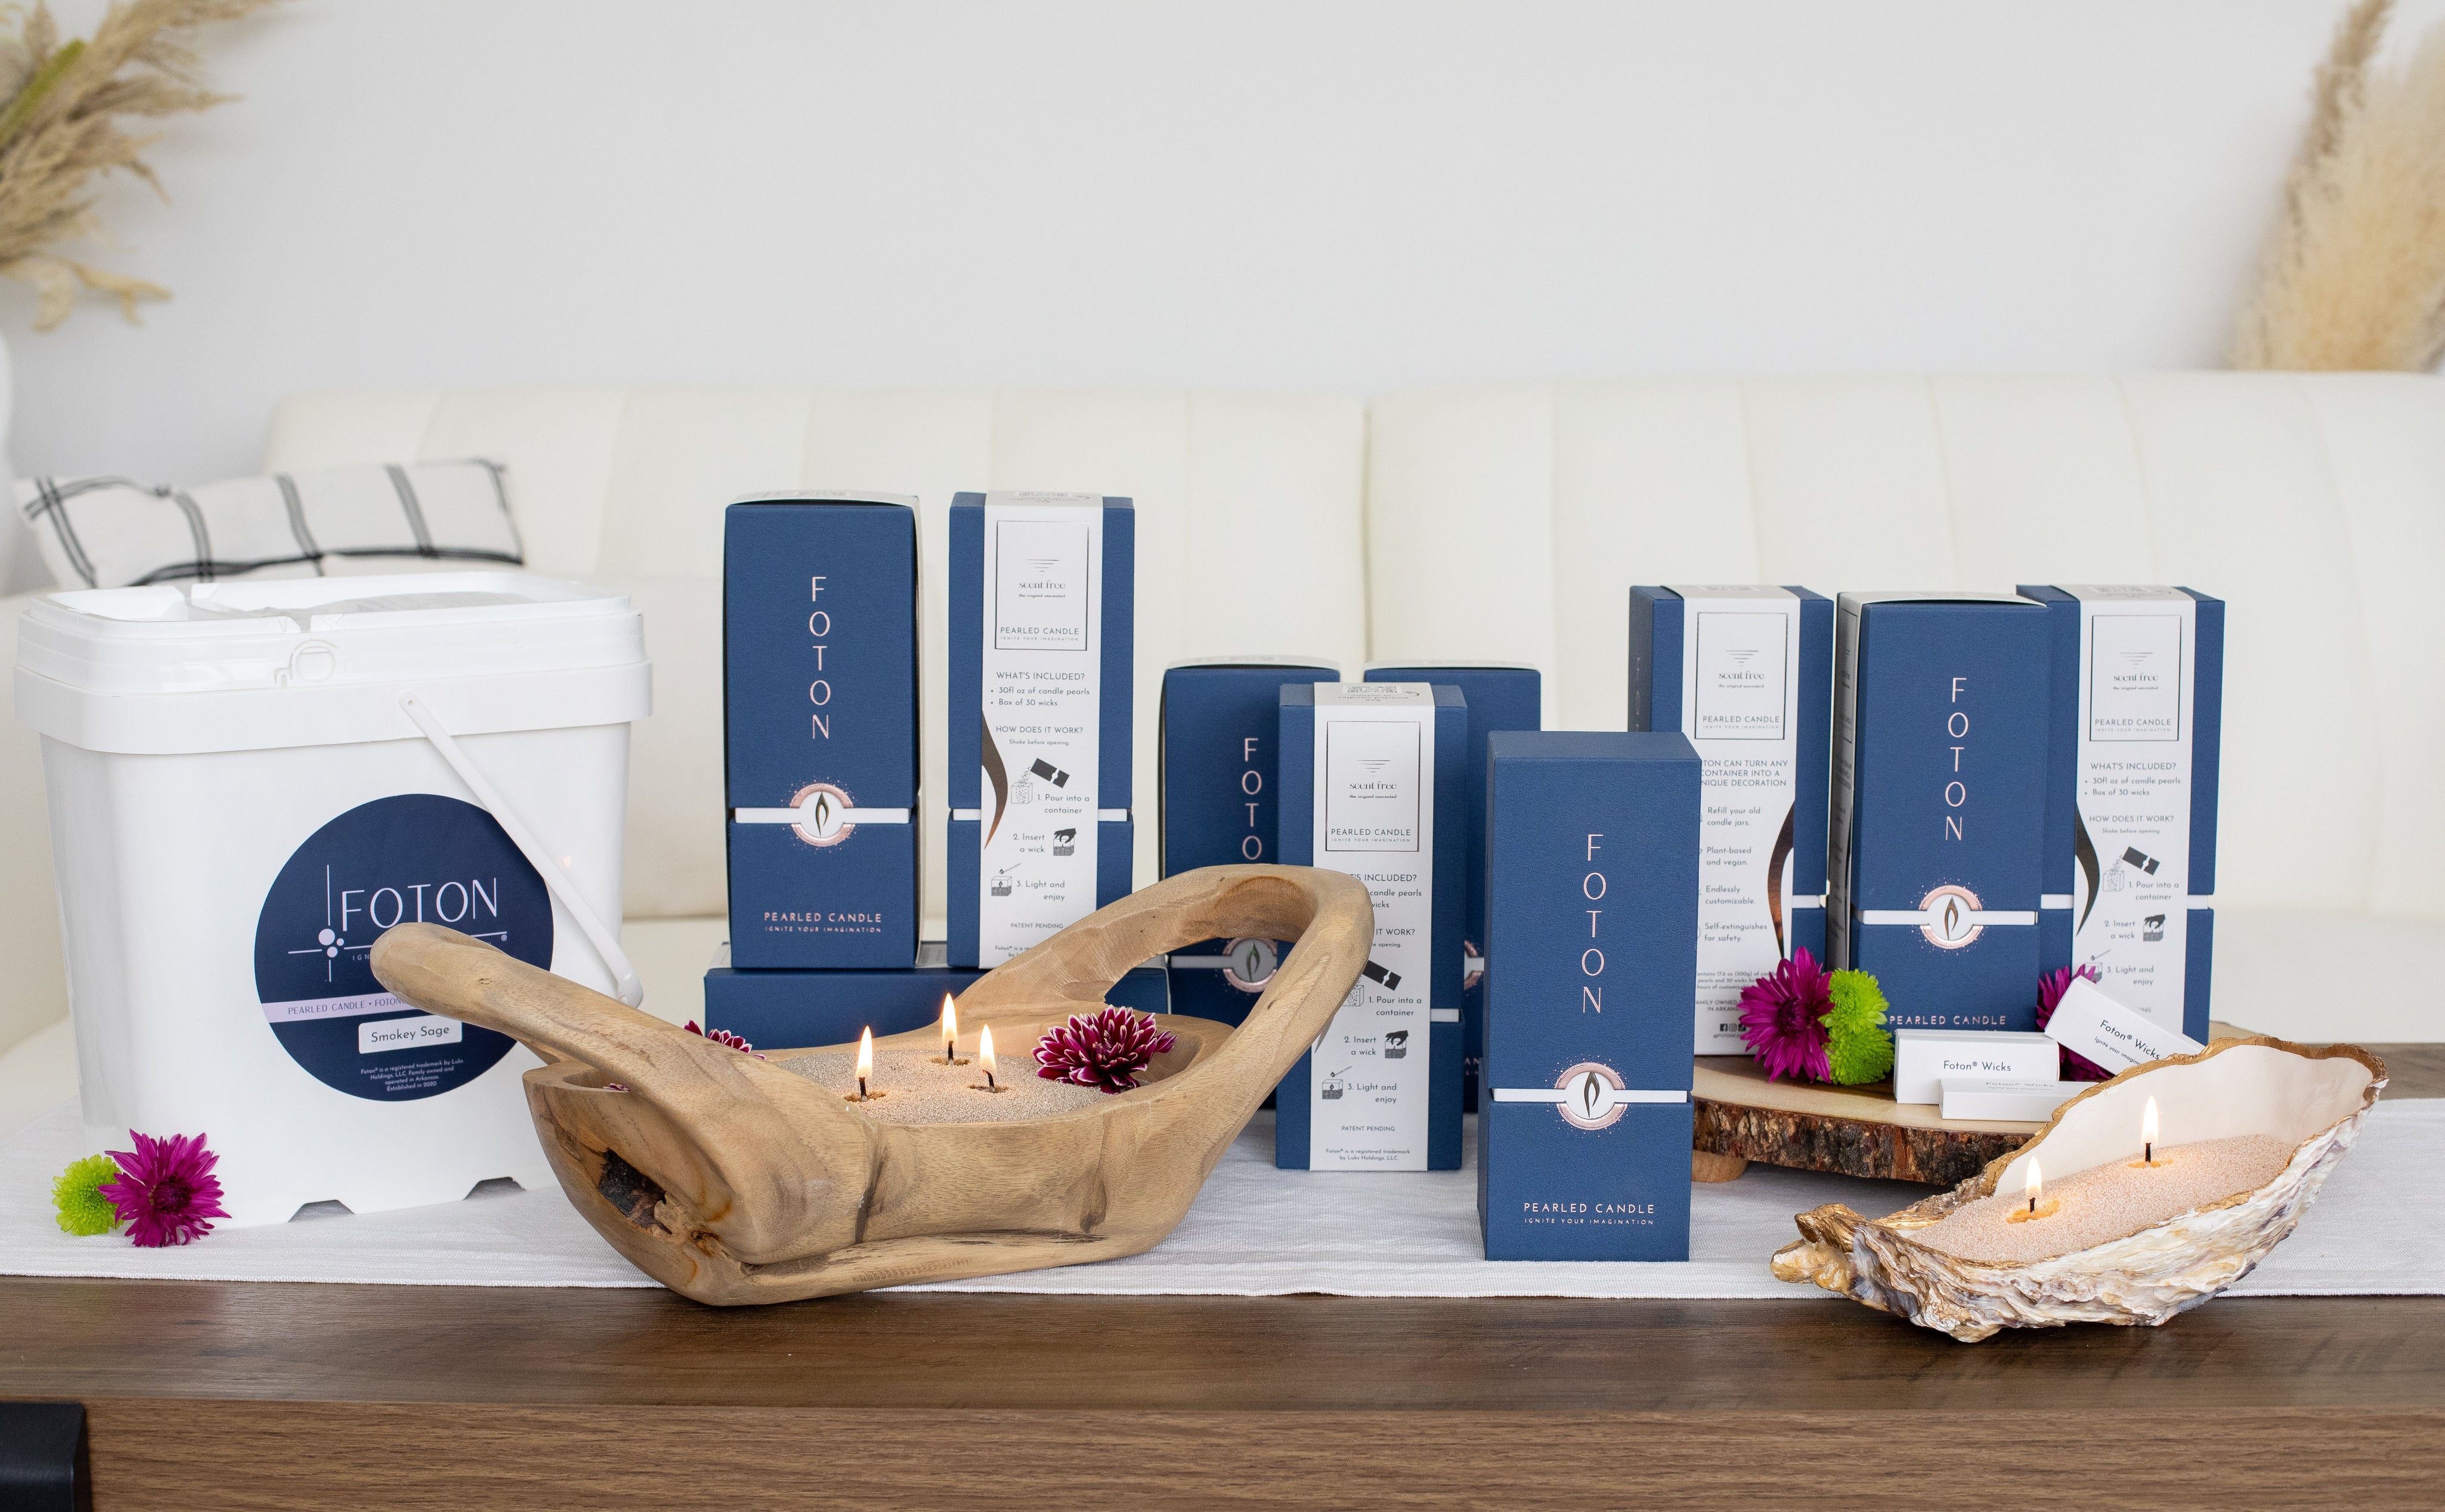
•Your favorite Foton Pearled Candle and Foton wicks
Step-by-Step Instructions

Step 1: Slice the Oranges
Start by cutting your oranges into thin, even slices. Thinner slices dry more evenly in the oven and create a nicer, more seamless layered look for the final bowl.

Step 2: Prepare for Drying
Line a baking sheet with parchment paper and place the orange slices flat in a single layer. Make sure the slices do not overlap, so the air can circulate around them.

Step 3: Dry the Orange Slices
Place the tray in the oven at 170°F (75°C) and let the oranges dry for 4–8 hours, depending on their thickness.
The slices should become fully dehydrated and slightly firm but still keep their vibrant, sunny color. Let them cool completely before moving on to the next step.
Step 4: Prepare the Bowl Mold
Turn your chosen bowl upside down to use as the mold for shaping the orange shell.
(Optional but recommended: cover the outside of the bowl tightly with plastic wrap so the glued orange shell releases easily later without sticking to your dishware.)

Step 5: Build the Orange Bowl
Using a hot glue gun, begin attaching the dried orange slices around the outside of the bowl mold.
•Slightly overlap the slices to ensure there are no large gaps.
•Work in layers, starting from the bottom (the rim of the upside-down bowl) and building upward toward the base.
•Continue until the entire bowl shape is covered.
Once all the orange slices are attached and the hot glue is completely dry, apply a thin coat of Mod Podge over the entire outside of the bowl using your brush. This helps seal any small gaps between the slices and gives the bowl a little extra stability and shine.
Allow the Mod Podge to dry completely before moving to the next step.
Step 6: Remove the Mold
Once everything is secure, dry, and cooled, carefully lift the orange shell off the bowl mold. Gently peel away the plastic wrap if you used it.
You should now have a beautiful, decorative citrus bowl made entirely from dried orange slices!

Step 7: Fill the Bowl with Your Foton
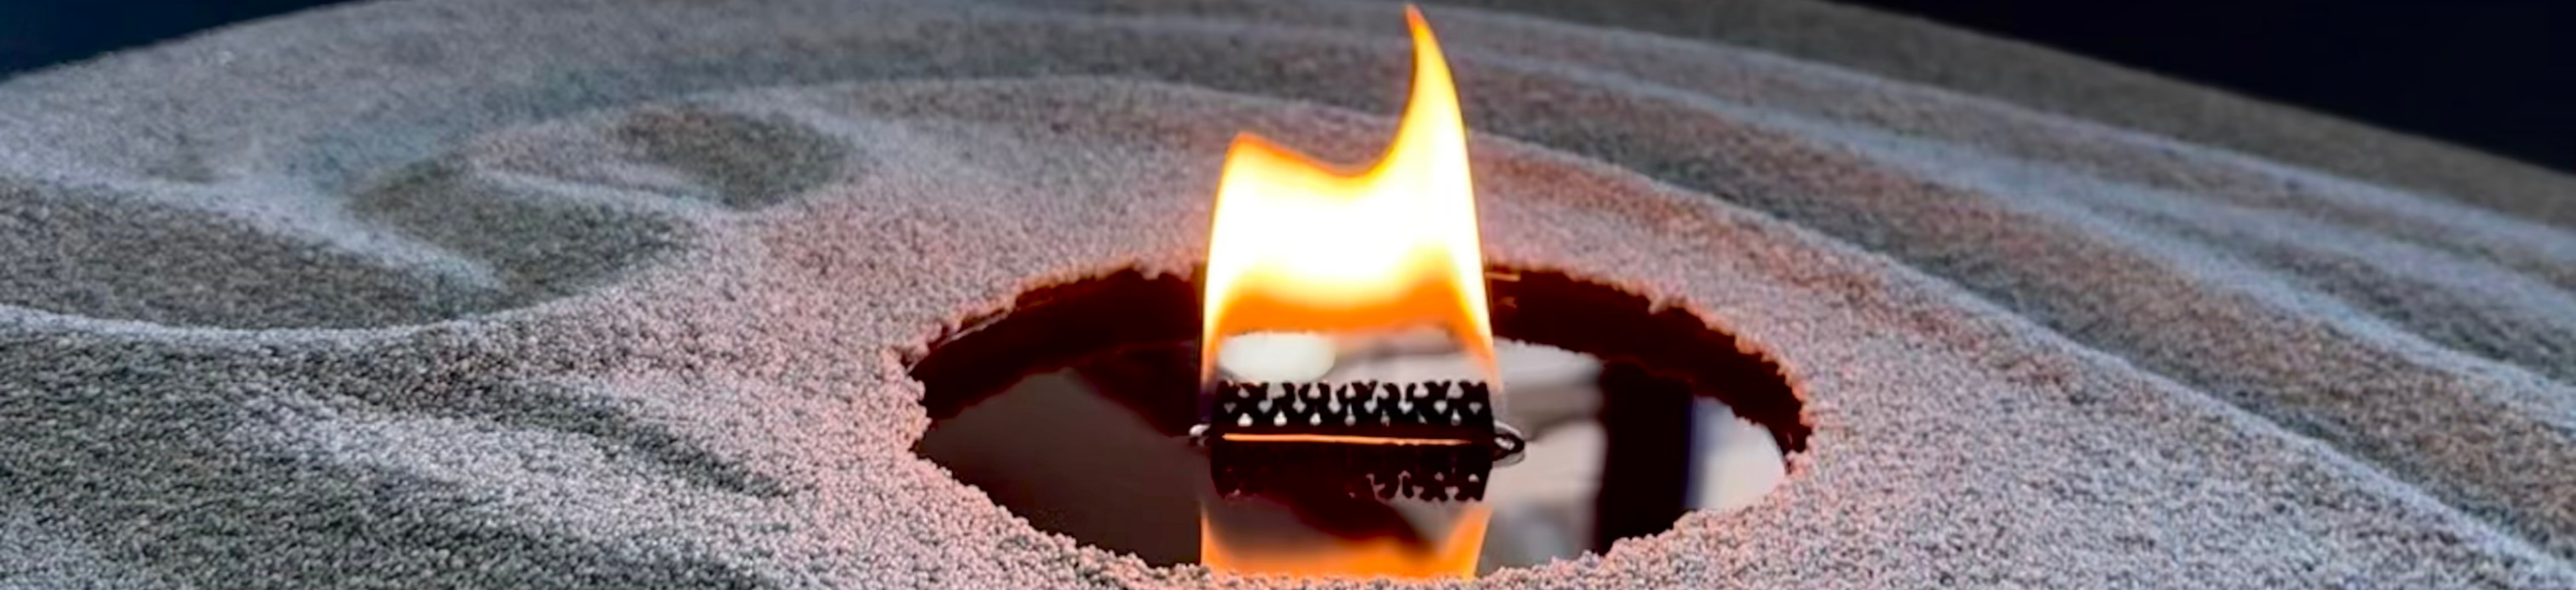
Now for the fun part! Once the orange bowl is finished and removed from the mold, fill it with your favorite Foton Pearled Candle.
Because Foton pearls take the shape of any container, they will perfectly fill your handmade citrus bowl. Make sure you pour at least a 3-inch layer of pearls to keep the bottom safe from the heat. Insert your Foton wick (leaving about 1/4 inch exposed), light it, and voilà! Your handmade Citrus candle bowl is ready to enjoy.

Safety Note: Always ensure your container is at least 4 inches wide and keep the wick at least 2 inches away from the edges of your dried orange bowl. For more safety tips, check out our guide on Top 3 Common Mistakes with Foton Candles (and How to Avoid Them).
Looking for more ways to style your Foton candles this season? Check out our Summer Centerpiece Ideas for more inspiration!

