


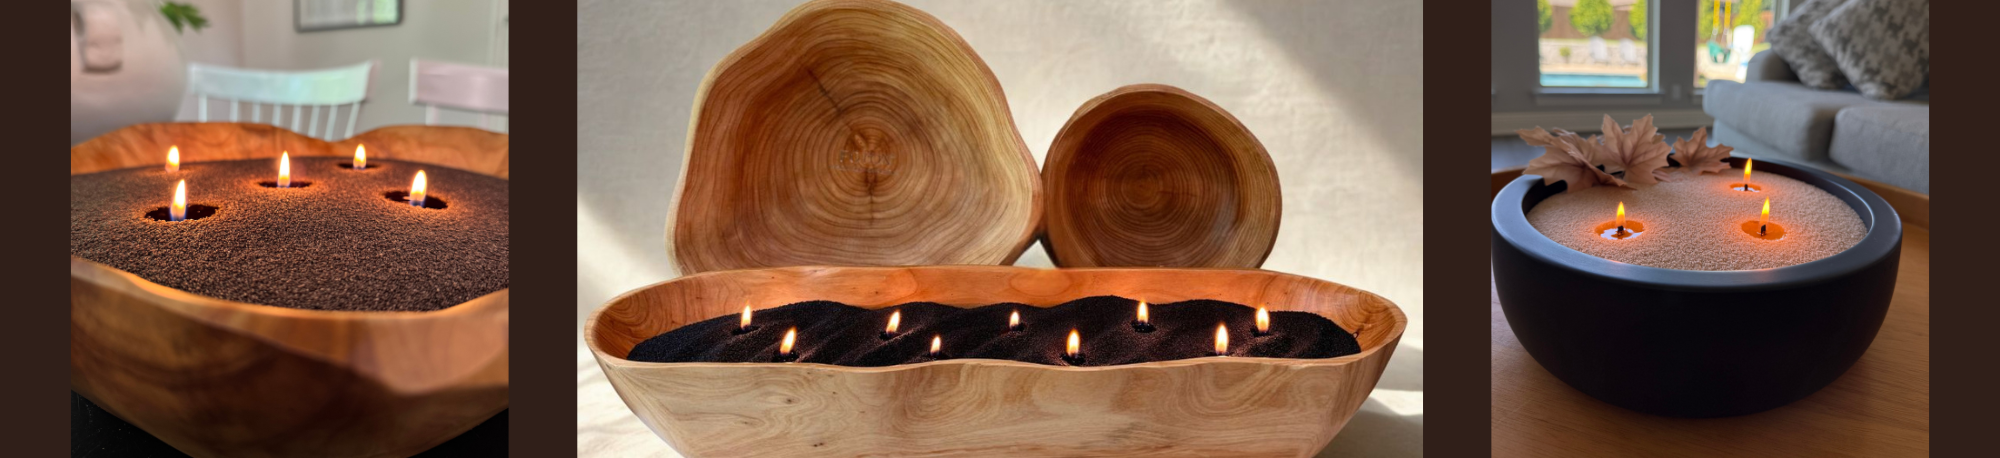

Create your own one-of-a-kind concrete bowl candle using towels, concrete, and your favorite Foton Pearled Candles. Every piece turns out completely unique, making this the perfect DIY project for home décor lovers and candle enthusiasts looking to craft a custom handmade candle container.
What You'll Need

- A large towel or multiple small rags
- Bucket
- Fine mortar mix
- Water
- Gloves & goggles for safety
- One 72-inch long wood piece (4x4 in. ) for the main mold (or any size that fits your space)
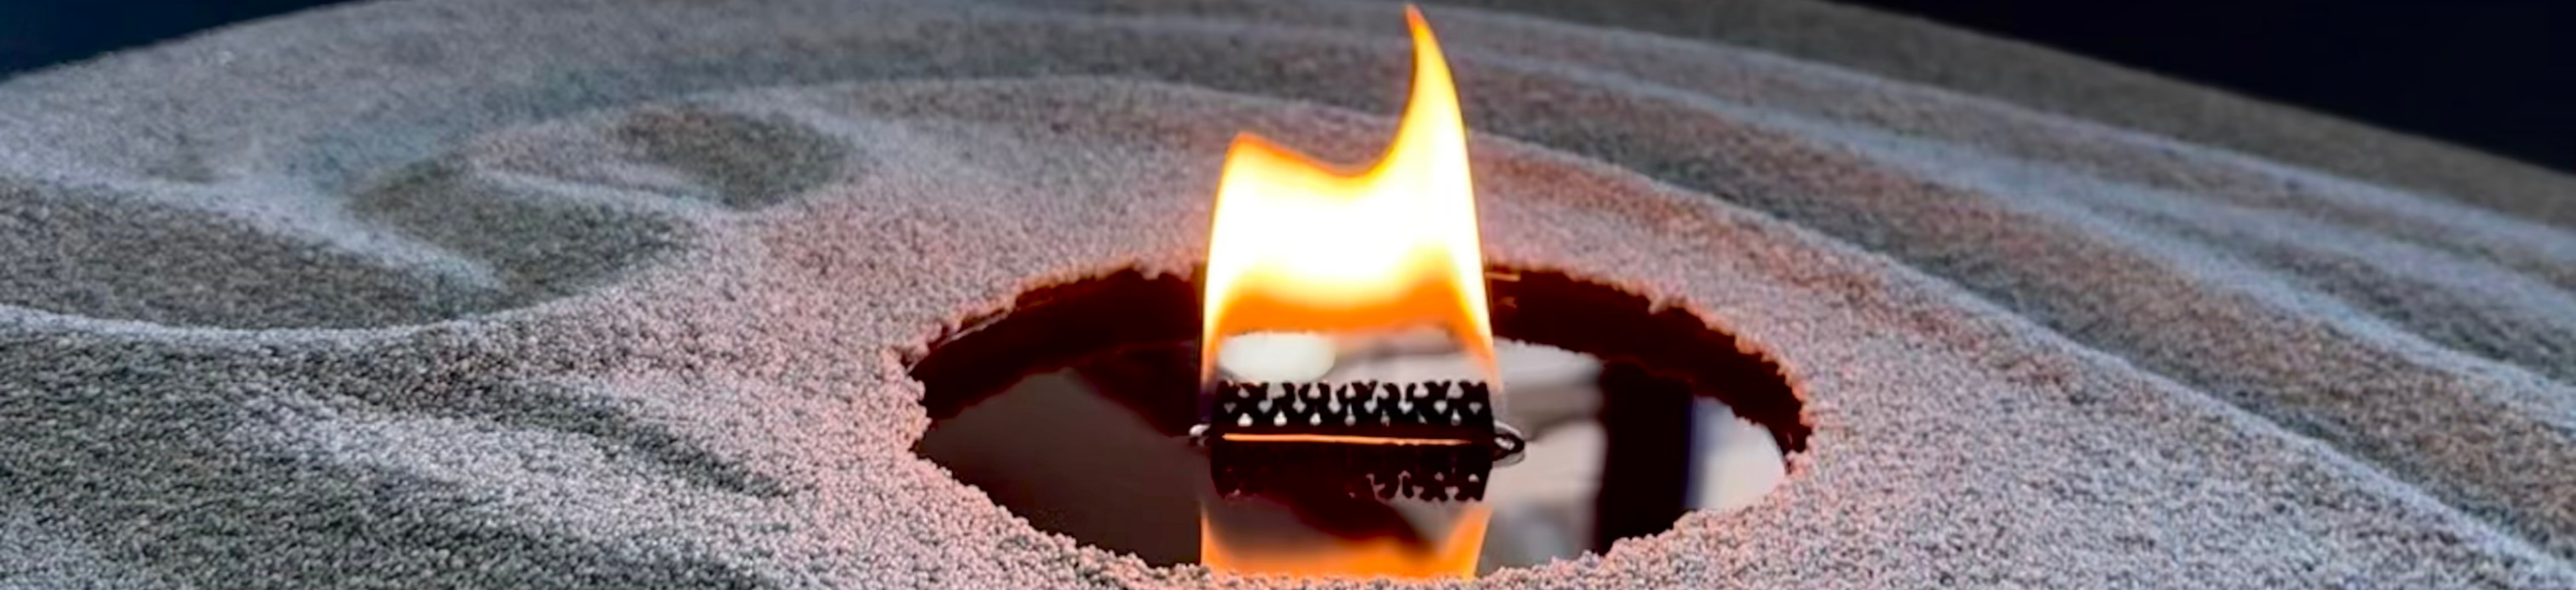
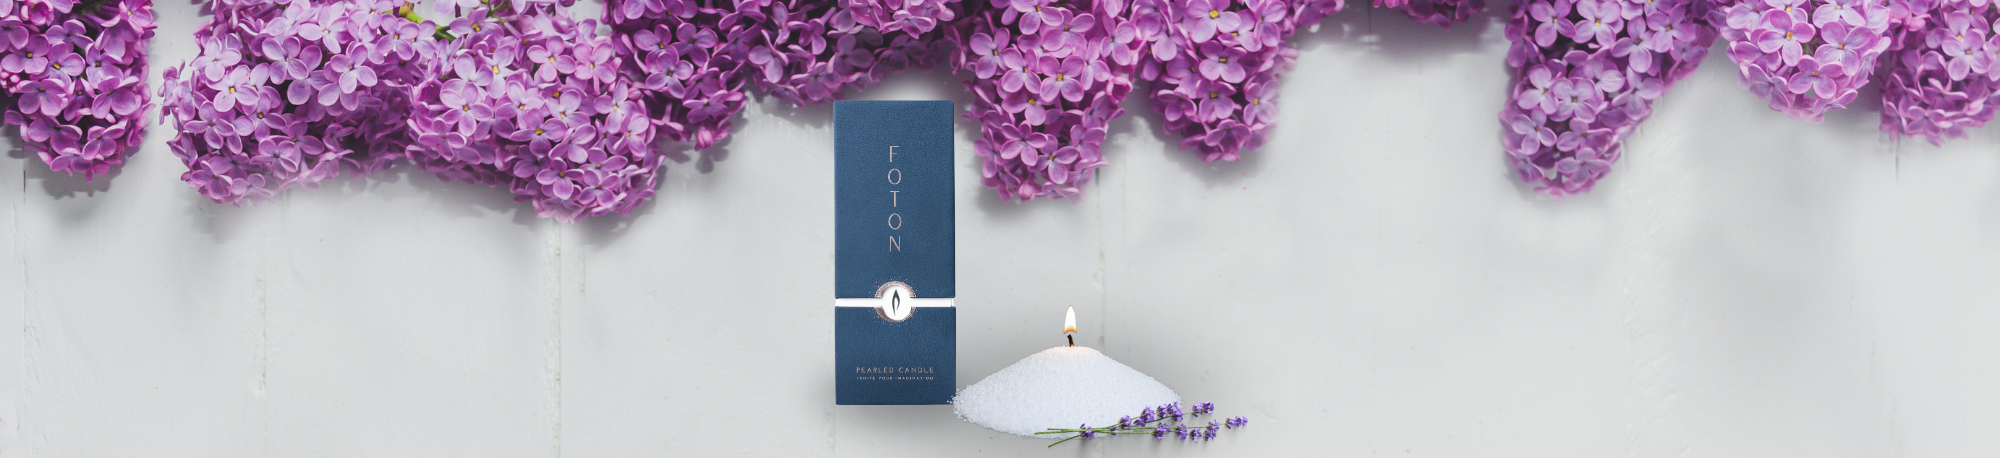
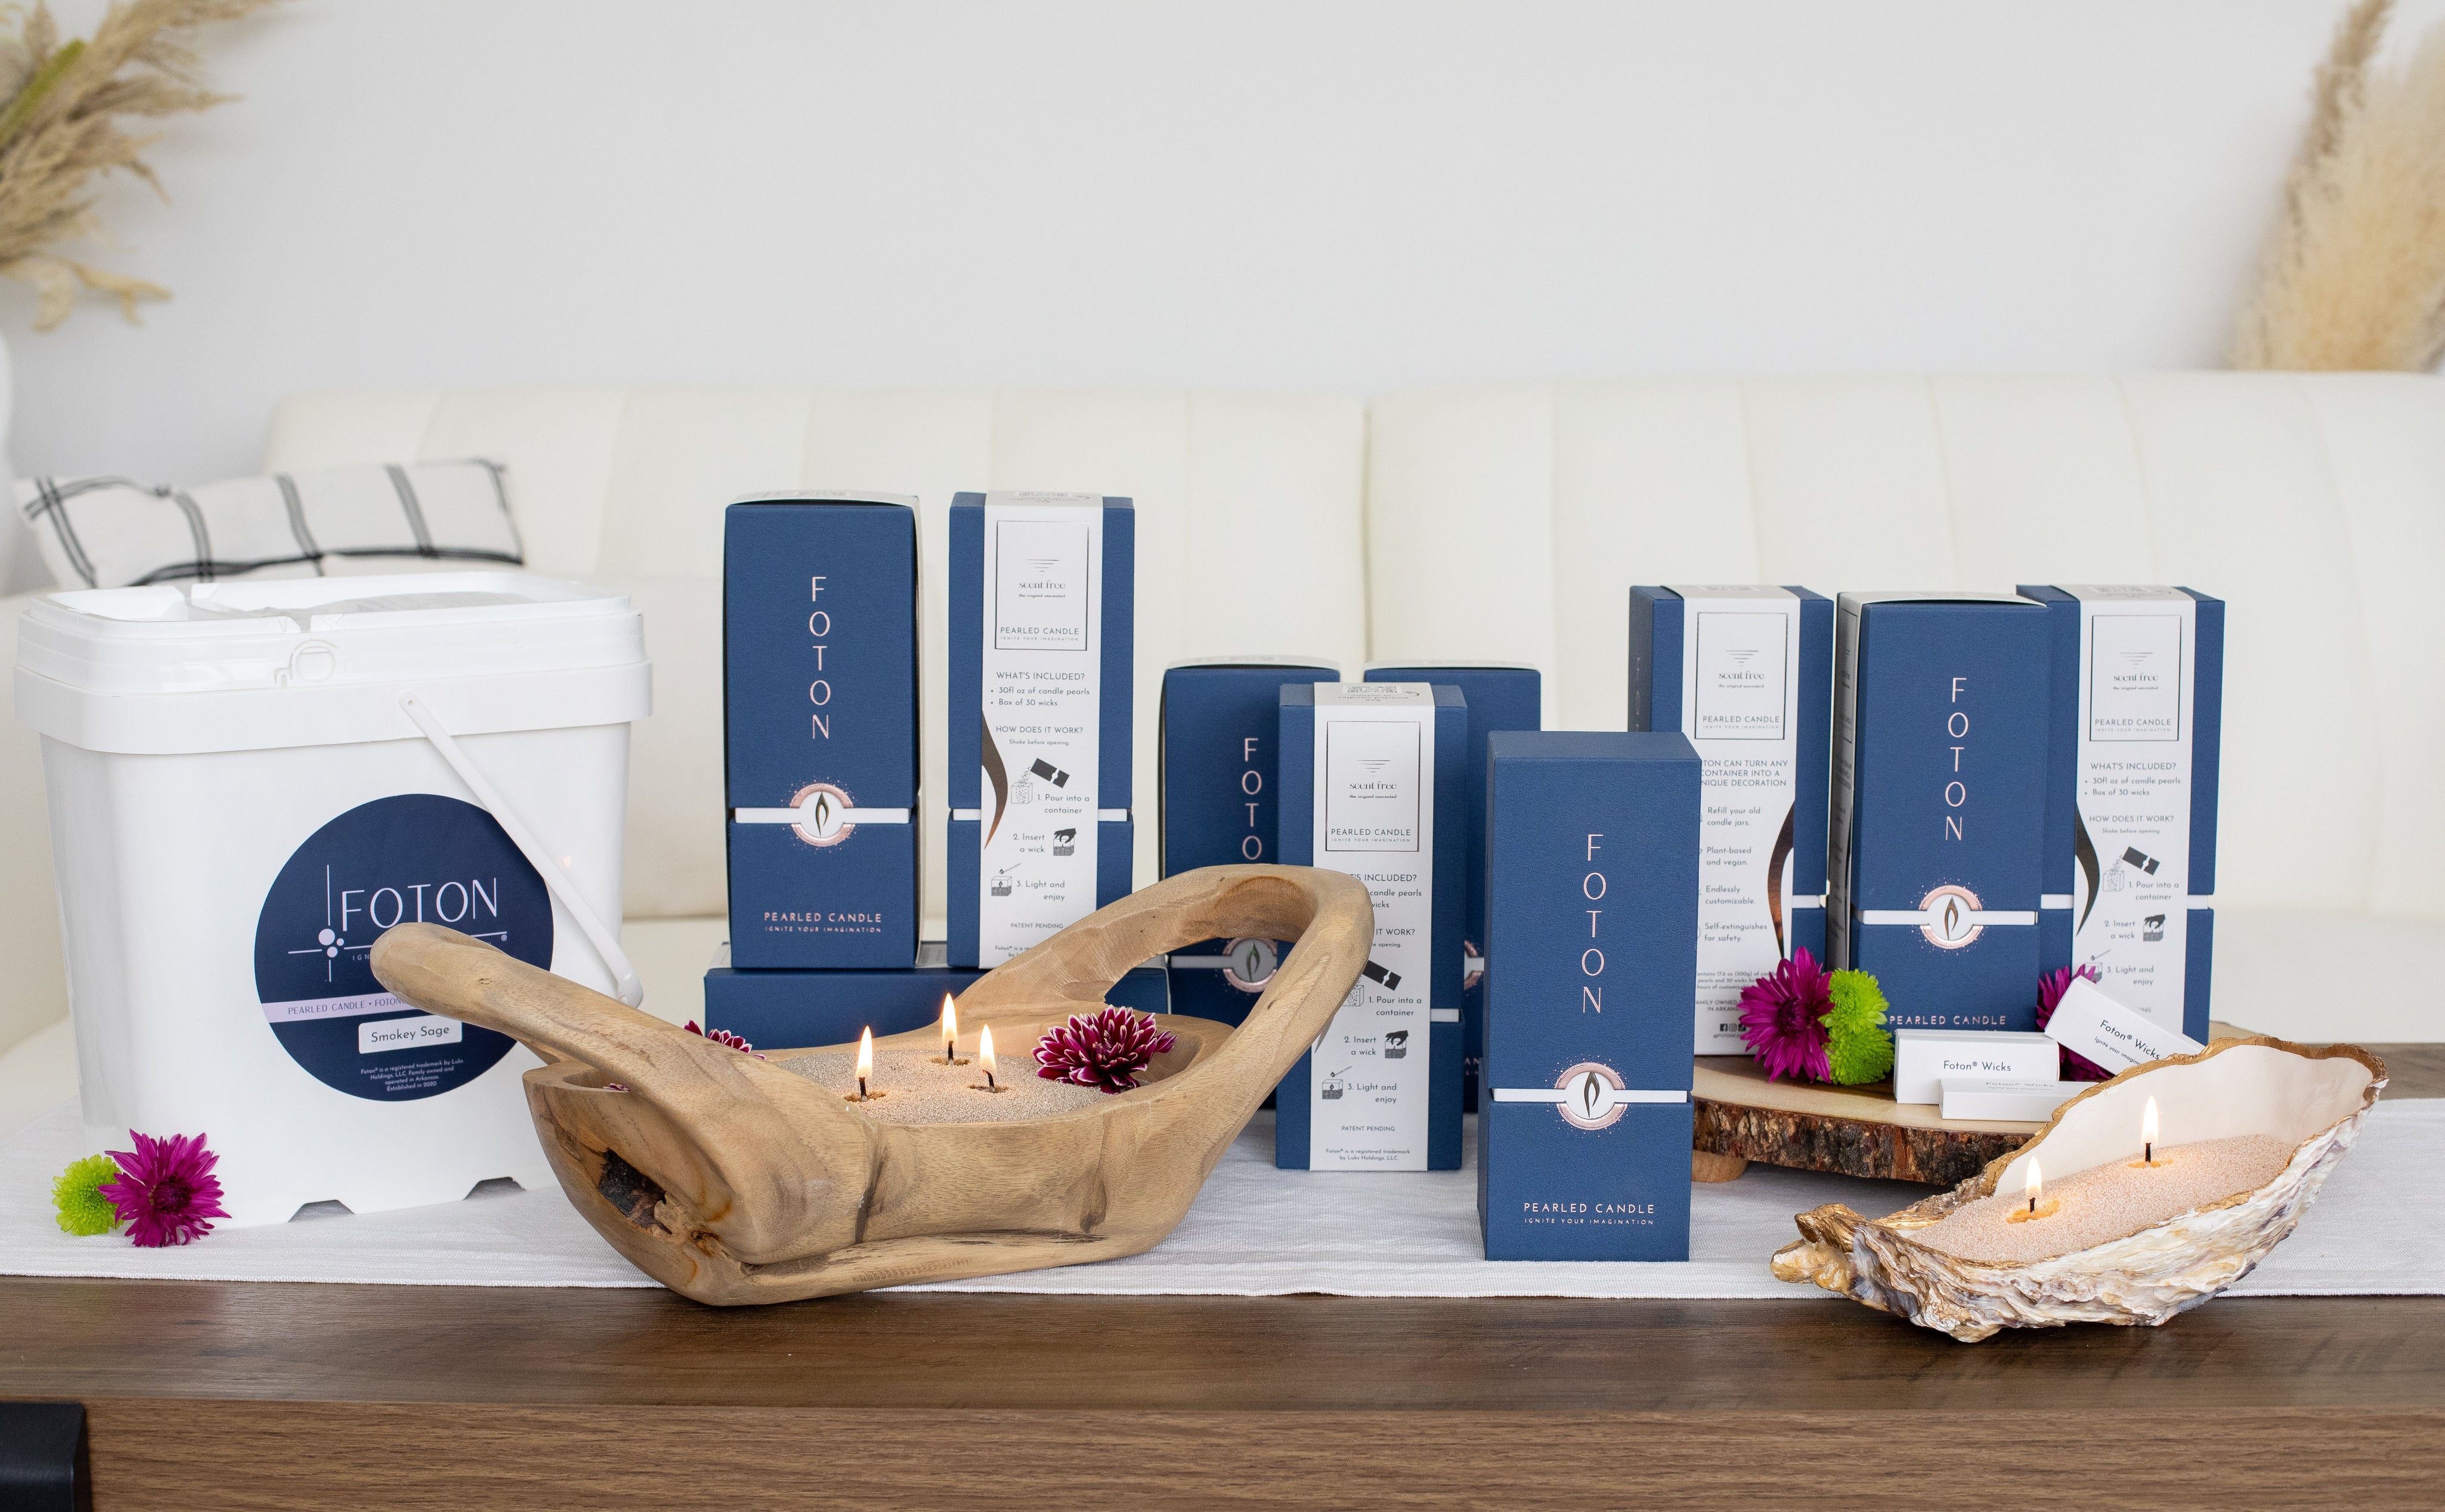
- Foton Pearled Candles
- Candle wicks
Step-by-Step Instructions
Step 1: Prepare Your Workspace
Set up your workspace in an open area and gather all your materials before starting. Make sure to wear gloves when working with concrete.
Step 2: Mix the Concrete
Prepare the concrete mixture by following the water-to-concrete ratio instructions provided on your concrete packaging. Mix until smooth and fully combined.


Step 3: Soak the Towels
Dip the towel or rags into the concrete mixture until fully saturated.


Step 4: Shape Your Bowl
Start draping and layering the concrete-soaked towels around the wood mold. This is where you can get creative - shape the folds and texture however you'd like to create your own unique bowl design.


Start draping and layering the concrete-soaked towels around the wood mold. This is where you can get creative - shape the folds and texture however you'd like to create your own unique bowl design.
Step 5: Let It Dry


Allow the concrete to fully dry and harden for approximately 48–72 hours, depending on the type of concrete used and drying conditions.
Step 6: Flip & Display
Once fully dry, carefully flip and place your concrete bowl onto a sturdy table or surface.
Step 7: Add Your Foton Pearled Candles


Fill your new handmade container with your favorite Foton Pearled Candles.
Step 8: Place the Wicks
Insert your Foton wicks all the way into the pearls, leaving only a small tip visible. Make sure to place your wicks at least 2 inches apart and away from the side of the container. This ensures your Foton pearls don't melt against the container.
Step 9: Light & Enjoy
Light your candle and enjoy your completely unique handmade creation.
DIY Tip
Want to customize your bowl even more? You can paint the concrete after it dries to match your home décor or create a specific color palette.
Ready to get started? Shop our full collection of Foton Pearled Candles and find your perfect scent and color.
