




What if your end table could double as a giant candle?
This DIY candle end table is a fun way to turn three simple planters into a statement piece for your home. With a little plaster and Foton Pearled Candles, you can create a one-of-a-kind side table that looks like expensive sculptural decor.
The best part? You don't need to be an expert at DIY projects to give it a try.
Whether you love modern home decor, unique candle displays, or creative furniture makeovers, this project brings all three together.
What You'll Need for Your DIY Candle End Table
Before getting started, gather these materials:
-
Three large planters: Round or half-dome shapes work best. (our DIY used 14 inch diameter planters)
-
Strong glue: Choose an adhesive suitable for your planter material.
-
Plaster: To create a textured, stone-like finish.
-
Gloves, safety goggles and a putty knife: For applying and shaping the plaster.
-
Foton 144 oz XL Candle Kit: Pearled candle wax to fill the top of your creation. (our DIY used 2 144 oz kits)
-
Candle wicks: Included with your Foton candle kit.
For this project, we recommend using a 144 oz Foton Pearled Candle Kit, which is designed for larger candle displays and creative centerpieces.
You can also explore Foton's scented 144 oz candles if you'd like to add fragrance to your finished piece.

Step 1: Arrange Your Planters to Create the Perfect Shape
Start by arranging your three planters to create the shape of your DIY end table. Add some rocks or something else heavy into the bottom planter to keep it stable.
Try flipping and stacking them in different directions until you find a silhouette you love.
For a modern, sculptural look, we recommend an hourglass-style design with a wide bowl on top.
Once you're happy with the shape, glue the planters together and allow the adhesive to dry completely.
DIY Tip: Play around with different planter shapes before gluing. This is your chance to create a custom piece that fits your home decor style.

Step 2: Cover the Planters With Plaster
Now it's time to give your DIY planter table its textured finish.
Put on your safety goggles and gloves, then use a putty knife to spread plaster over the entire surface.
Make sure to cover the seams between the planters so they look like one solid piece.
Don't worry about making everything perfectly smooth. The uneven texture is what gives this DIY side table its beautiful, carved-stone appearance.
Allow the plaster to cure completely before moving to the next step.
DIY Tip: Keep some texture in the plaster for a natural, handmade look that works beautifully with modern and minimalist home decor.

Step 3: Fill Your DIY End Table With Foton Pearled Candles
Here's where your DIY furniture project becomes something truly unique!
First, move your finished table into its final spot. Once you add the candle pearls, it will be much heavier.
Then, pour your Foton Pearled Candle wax into the top bowl.
Gently smooth the surface with your hand to create an even layer of pearls.
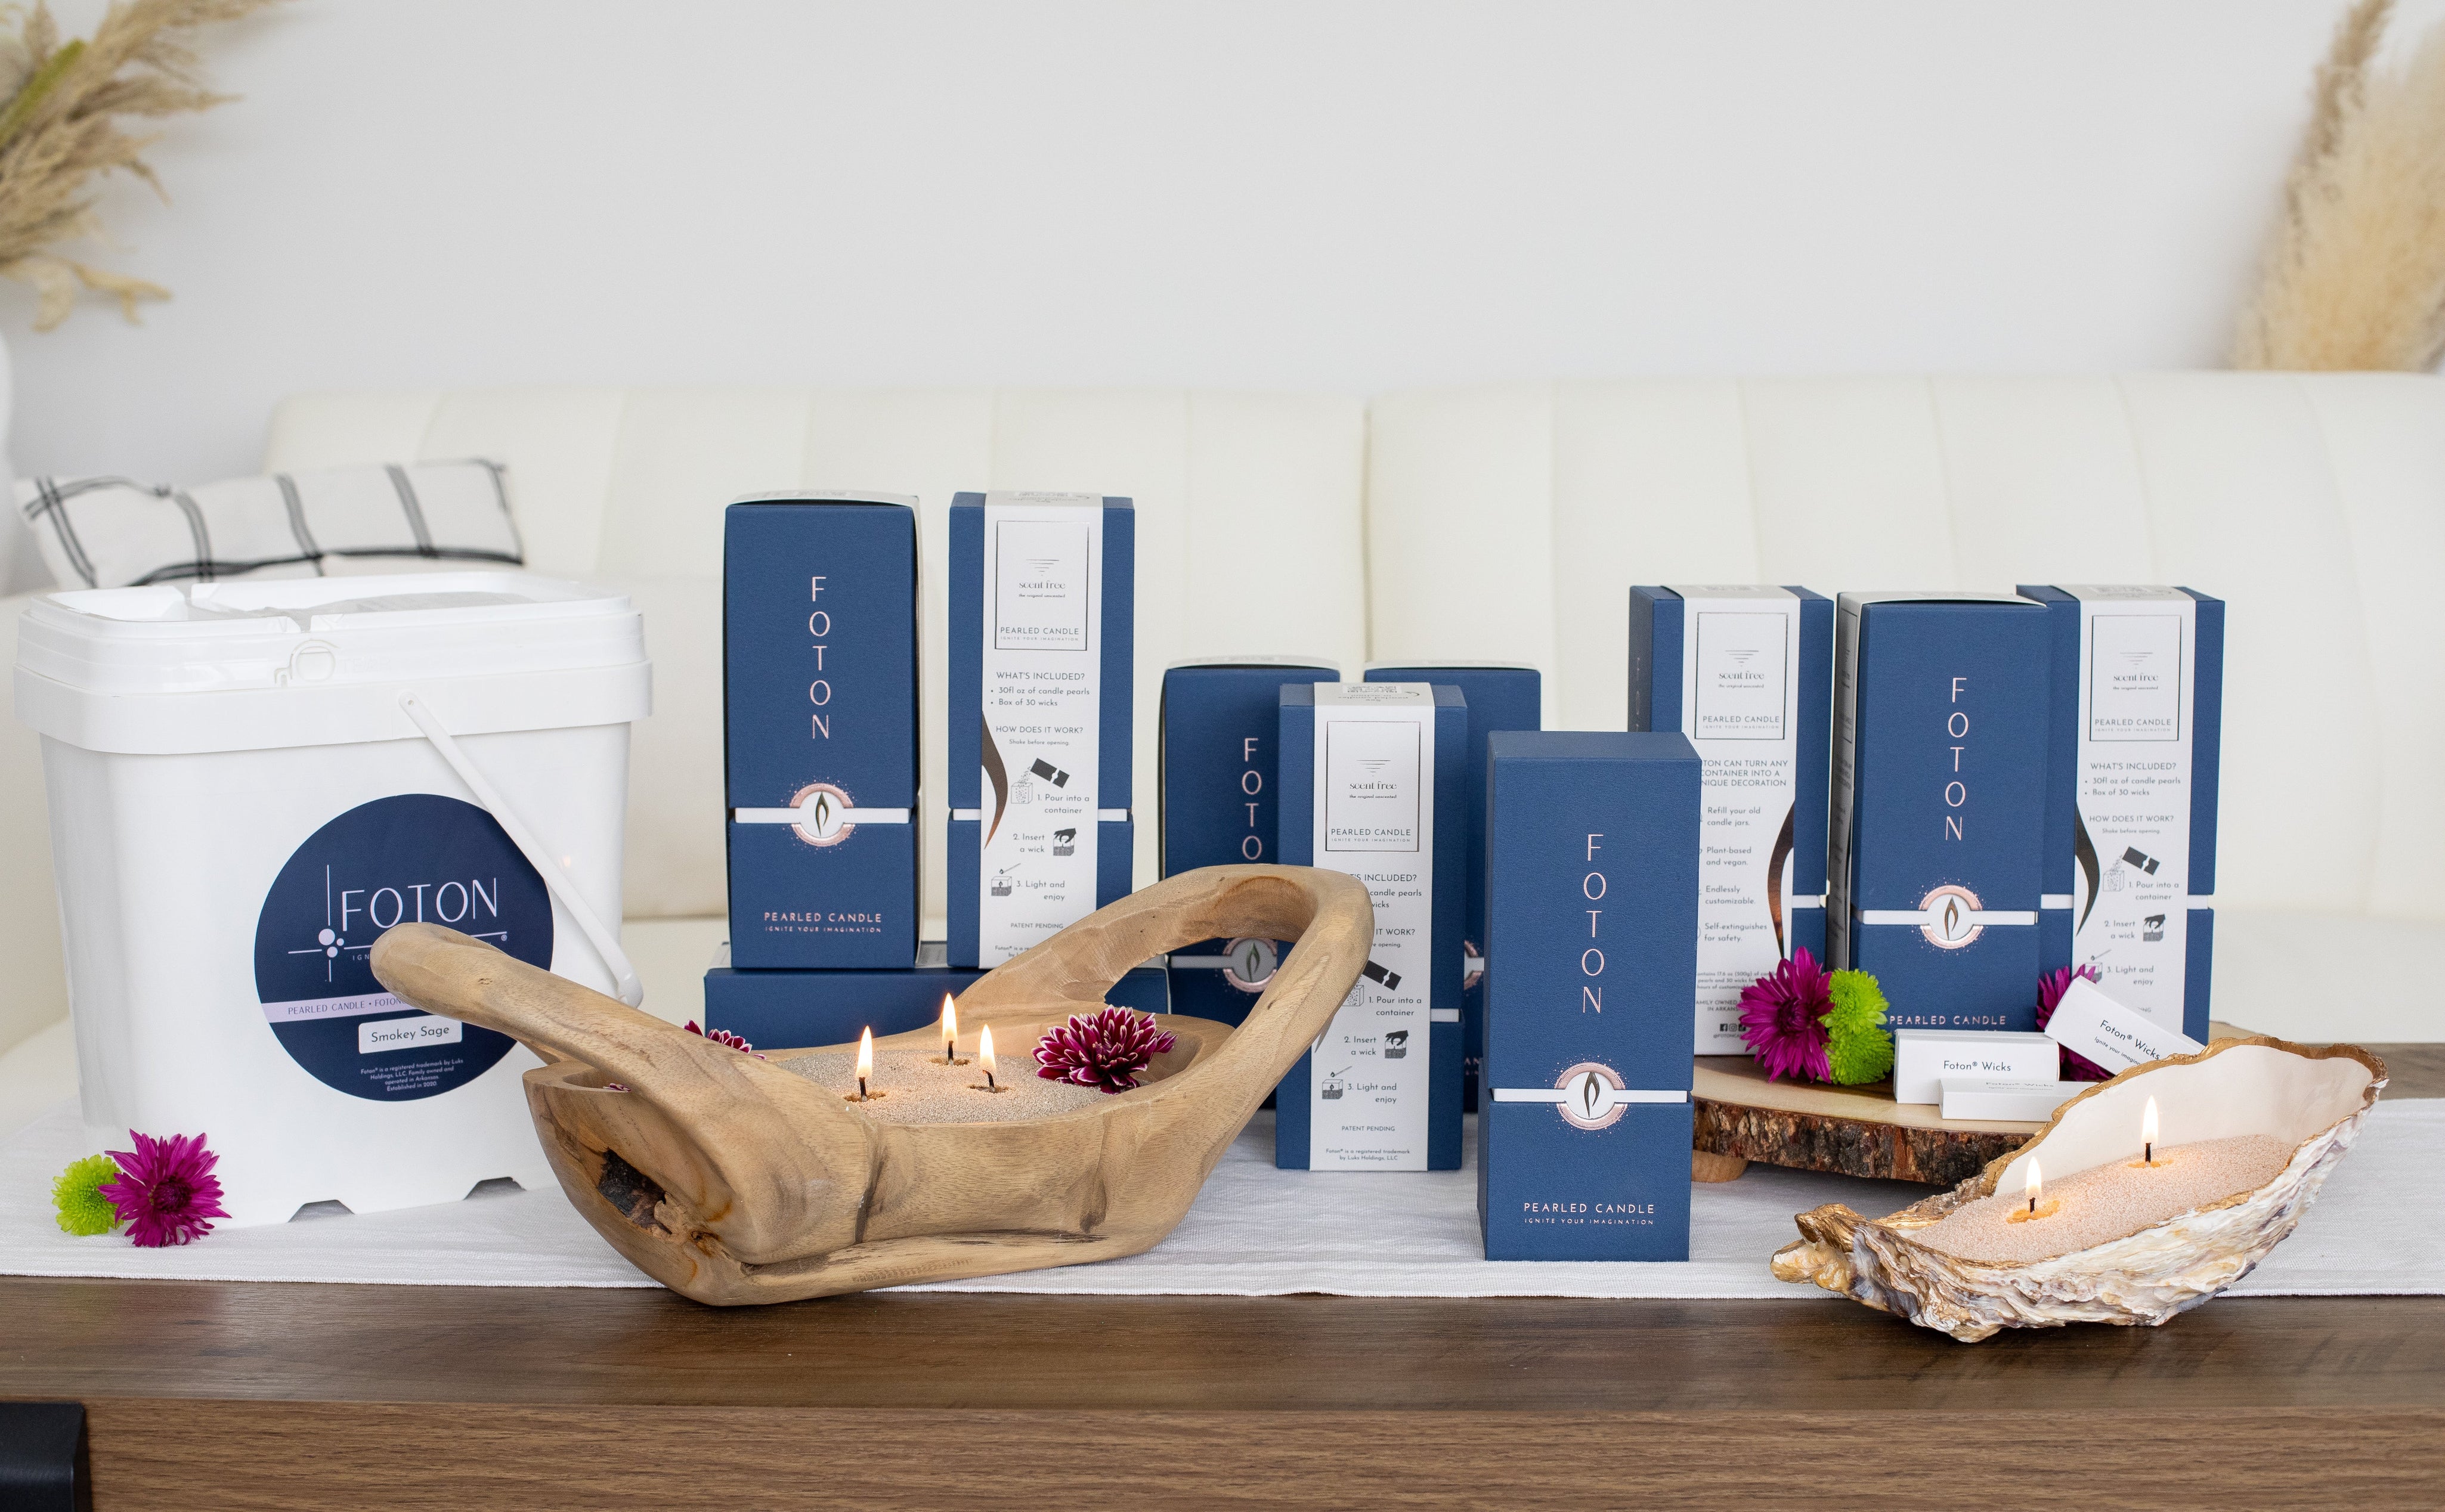
Unlike traditional jar candles, Foton's refillable pearled candles let you create custom candle displays using your favorite decor pieces.
For a neutral, minimalist look, try Nude Pearled Candle wax.
Want something bold? Black Pearled Candle wax can create a dramatic contrast against the plaster finish.
Important: Before lighting, make sure the top vessel is suitable for candle use, stable, and securely assembled. Plaster alone does not make a planter safe for burning candles.

Step 4: Add Your Candle Wicks
Once your Foton candle pearls are in place, it's time to add the wicks.
Insert the included wicks into the pearled candle sand, making sure they're properly positioned and spaced according to Foton's candle safety instructions.
For this oversized candle centerpiece, a slightly scattered wick arrangement creates a more natural look than a perfectly straight grid.
One of the best things about Foton's customizable candles is that you can change the placement of your wicks whenever you refresh your candle.

Step 5: Light Your Candle and Enjoy Your DIY Creation
Your DIY candle end table is complete!
Once you've confirmed that your candle setup is safe to burn, light the wicks and enjoy your new statement piece.
The candlelight highlights the texture of the plaster, turning your handmade table into a beautiful decorative feature.
And when your candle burns down, you don't need to start over.
Simply refresh your display with more Foton Pearled Candle wax and replace the wicks as needed.
Always keep burning candles attended and away from flammable materials.
Why We Love This DIY Candle Table
This project combines some of our favorite things about DIY home decor:
-
It's customizable. Choose the planter shapes, plaster texture, and candle colors that match your style.
-
It looks expensive. The textured finish creates the appearance of a sculptural stone furniture piece.
-
It's a unique candle display. Instead of placing a candle on your side table, the candle becomes part of the design.
-
It's refillable. With Foton Pearled Candles, you can refresh your candle without replacing the entire display.
It's a creative way to bring together DIY furniture, candle decorating, and modern home styling.
Make Your Own Giant Candle Centerpiece With Foton
Ready to create your own DIY candle end table?
Whether you're making an oversized candle display, decorating a coffee table, or looking for unique DIY home decor ideas, Foton Pearled Candles make it easy to get creative.
Explore our 144 oz XL Candle Kits, browse scented candle options, or discover more ways to style Foton candles in your home.
Your next favorite piece of home decor might be one you make yourself.
